Last updated November 17, 2026



Free written scope consultation - allowances, timeline, and change-order rules on paper before a single trade is scheduled
Driveway & Pavers Maintenance Checklist for Downey Homeowners
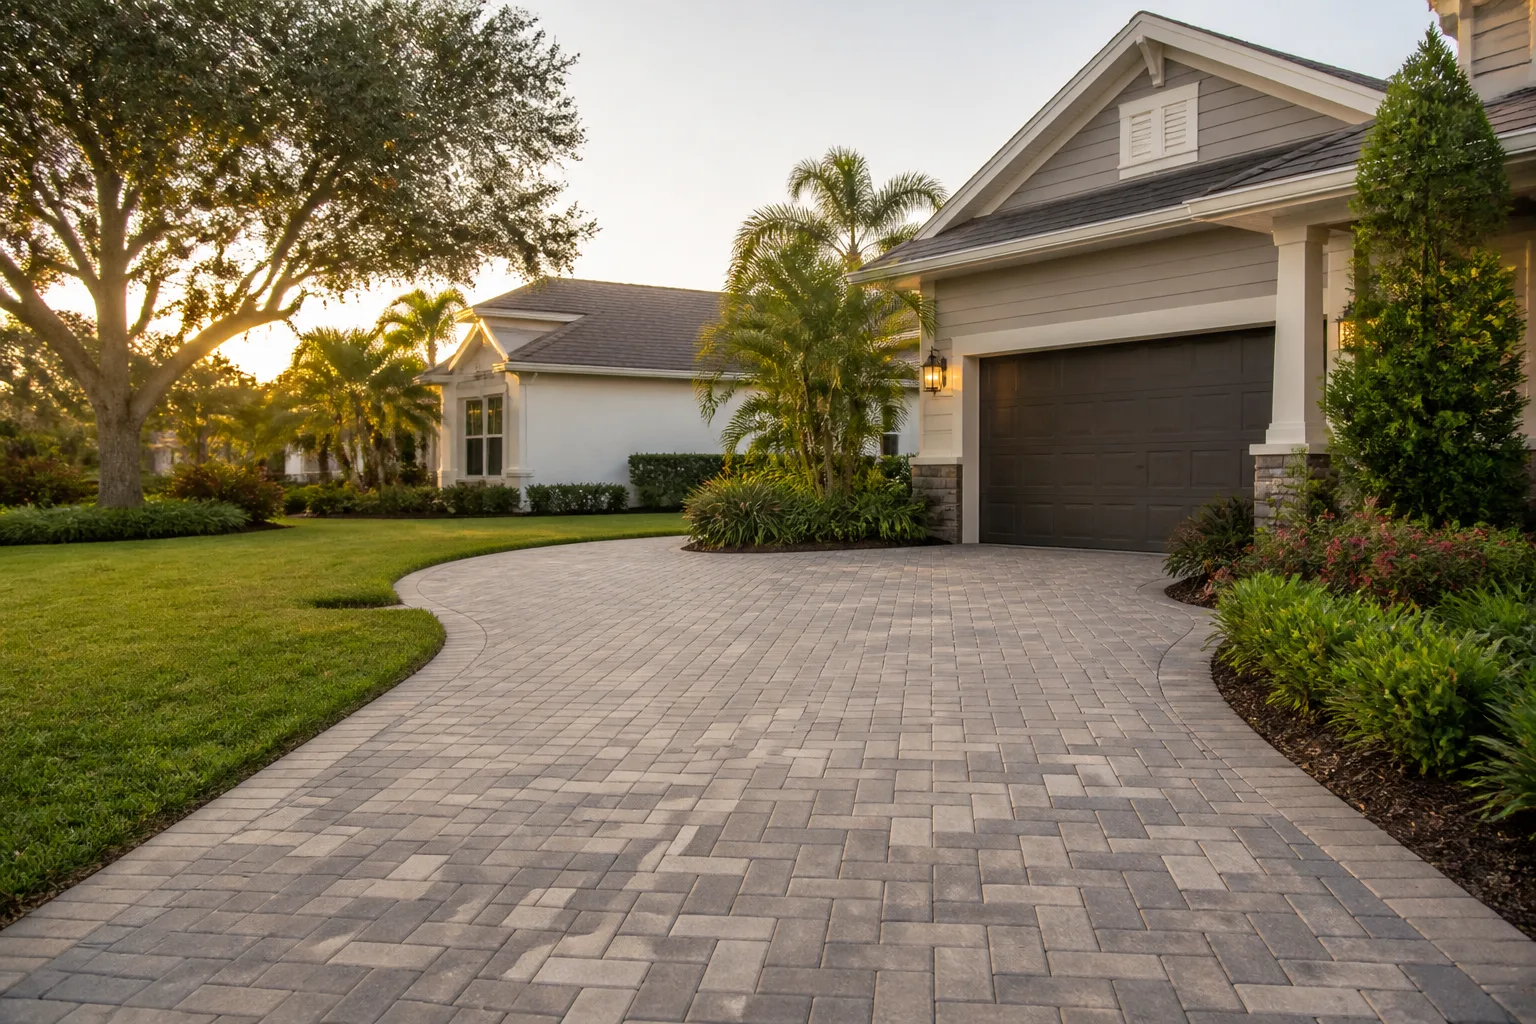
The number-one cause of paver failure in Southern California isn’t weight load. It’s polymeric sand washout from oscillating wet-dry cycles, and most homeowners don’t notice it until a paver rocks underfoot. Downey sits right in the middle of that pattern: marine-layer dampness rolls in before sunrise, afternoon sun bakes the surface dry by two o’clock, and winter nights drop cold enough to move clay soil under the base. That daily and seasonal swing works on pavers in a sequence you can predict, and interrupt, with a targeted maintenance routine. This checklist gives you the sequence, the signs to watch, and a month-by-month schedule built around Downey’s actual calendar.
Quick Answer
Driveway pavers in Downey need joint sand replenishment every 2 to 3 years, a spring edge inspection to catch clay-soil heave, resealing on a 3 to 5 year cycle for natural stone and 2 to 3 years for concrete pavers under direct UV, and a quick visual pass after every rainy stretch. Stop polymeric sand washout first, because joint failure opens the door to weeds, settling, and structural movement. A maintenance budget of $150 to $400 a year for DIY work, or $600 to $1,200 every few years for professional resealing and re-sanding, keeps most Downey driveways out of the repair category.
Styles & brands we work with
- Kitchen remodeling
- Bathroom remodeling
- Home additions & ADU
- Roofing
- Windows & doors
- Driveway & pavers
- Fence
Table of Contents
- Why Downey Pavers Fail in a Predictable Sequence
- The Polymeric Sand Depletion Signs to Watch
- Clay Soil Heave and What to Check Every Spring
- UV Sealer Degradation: Concrete vs. Natural Stone
- A Month-by-Month Maintenance Calendar for Downey
- Which Failures Void Manufacturer Warranties
- Common Mistakes to Avoid
- When to Call a Professional
Why Downey Pavers Fail in a Predictable Sequence
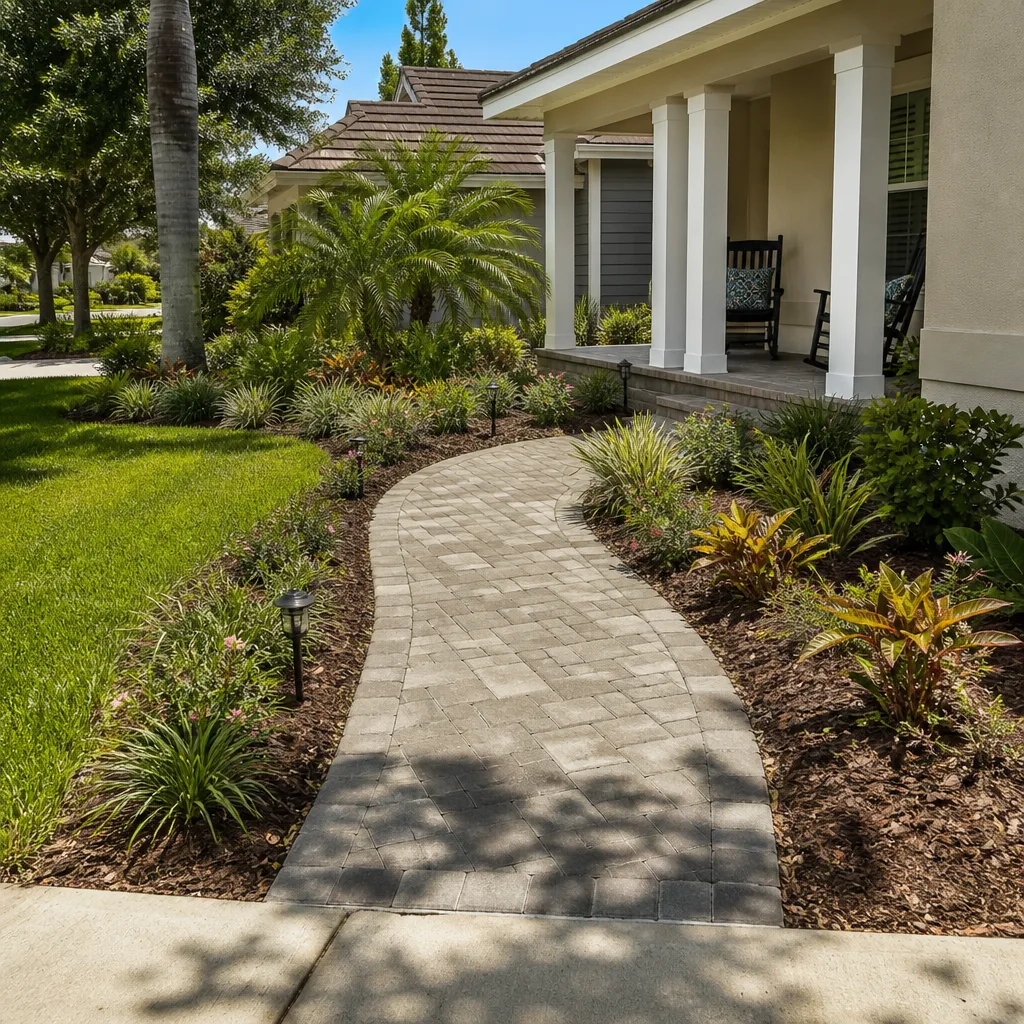
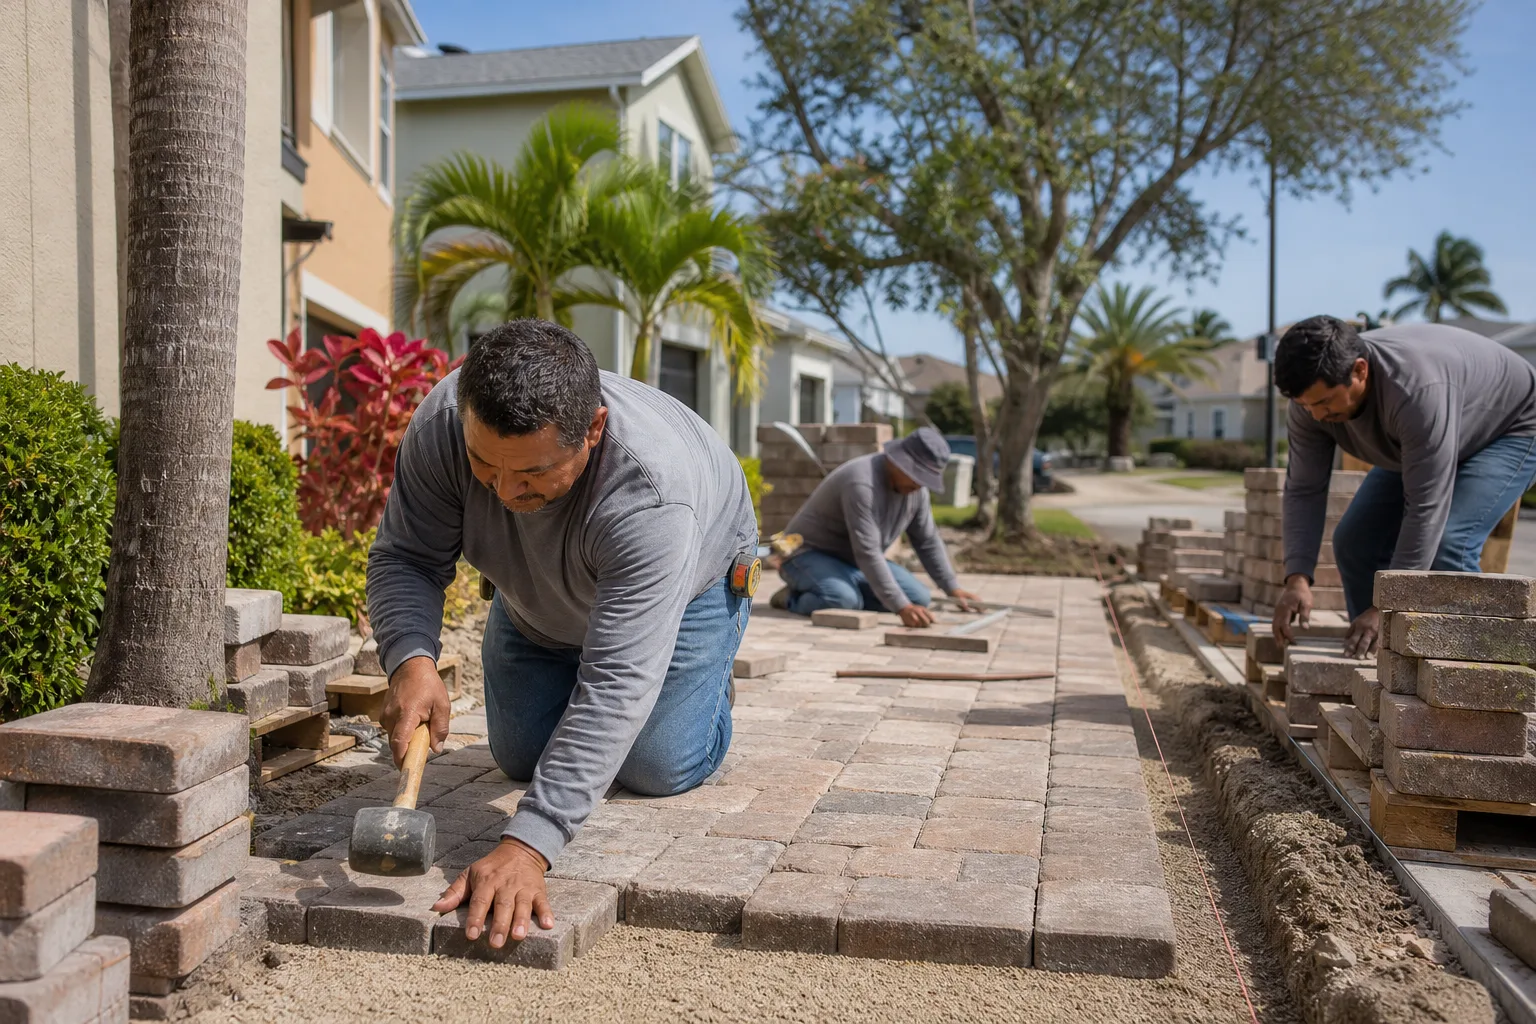
Pavers don’t fail all at once. They fail in a chain, and in Downey the chain starts with moisture. Standard interlocking concrete pavers are what most Downey driveways use, and the joint sand between them is the system’s weak point. When damp morning air and winter rain soak into the joints, then afternoon sun pulls that moisture back out through evaporation, the polymeric sand binder gets worked loose grain by grain. Polymerics are designed to flex and grip, but repeated wet-dry cycling is what wears them down fastest.
Once joints open a few millimeters, three things happen in order:
- Water reaches the bedding layer. The 1-inch sand bed under the pavers begins to migrate and wash out, especially at the edges and any low points.
- Weed seeds take hold. The open joint becomes a seed bed. Within one wet season, Downey homeowners start seeing spurge, oxalis, and crabgrass pushing up between pavers.
- Pavers move. With the bedding compromised, individual units rock, tip, and settle differently. That’s when the repair cost jumps from a few hundred dollars of re-sanding to a few thousand dollars of base repair.
We’ve seen this cycle play out across Downey, from the older single-story homes near Furman Park to newer builds off Florence Avenue. The homes that avoid it aren’t more careful in any general way. They just reset the sand before the joints open, and that’s the whole game. If you’re laying a new driveway and want a base detail that holds up to this cycle, our Driveway & Pavers in Downey service page covers what we specify above a clay subgrade.
The Polymeric Sand Depletion Signs to Watch
Polymeric sand should sit flush or just below the paver surface, with a slightly firm, gritty feel under a fingertip. In Downey, the pattern of depletion shows up first on the south and west elevations of a driveway, because those surfaces take the strongest afternoon sun and the longest evaporative drying cycle. If your driveway runs east-west, check the west end first.
Five signs your joints are losing sand
- Joint depth drops below 1/4 inch. Push a small screwdriver straight down between two pavers. If it sinks more than a quarter inch before hitting compacted sand, the joint has opened.
- A visible gap opens at the paver chamfer. The beveled edge of each paver should meet the sand. A visible dark line or shadow along the chamfer means sand has pulled away.
- A paver rocks underfoot. Step on each paver along the wheel path and at the driveway apron. Rocking means the bedding is already failing.
- Water pools in the joints during rain. A healthy joint drains. A shallow joint holds water and softens the polymer binder.
- Weeds appear in a line, not at random. A line of weeds following a paver seam tells you the whole seam is depleted, not just one spot.
How to re-sand before weeds win
- Wait for a stretch of dry weather of at least 48 hours. Damp joints won’t accept new sand.
- Clean the joints with a stiff broom and a shop vacuum. Pull weeds with the root attached, don’t cut them.
- Pour a polymeric joint sand made for concrete pavers over the surface and sweep it into the joints with a soft push broom. Never use plain masonry sand for this step, because it washes out in the first storm.
- Compact the surface with a rubber mallet or a hand tamper along the joints to settle the sand.
- Top off any joints that settle lower than 1/8 inch.
- Mist the surface lightly with a hose to activate the polymer, following the product directions exactly. Over-wetting is the most common mistake.
- Keep the driveway dry and free of traffic for the full cure time listed on the bag, typically 24 hours.
If more than 30% of your joints are depleted and the driveway is over ten years old, re-sanding alone won’t hold. That’s a base inspection and re-leveling job.
Clay Soil Heave and What to Check Every Spring
Most of Downey sits on clay-heavy soil, and clay is a soil that changes volume with moisture. It swells when wet and shrinks when dry. On a driveway, that movement shows up as seasonal heave along the perimeter, where the paver edge meets soil, planting beds, or lawn. Concrete pavers on a properly compacted base can absorb a lot of this movement. But a driveway without a solid edge restraint has nothing to hold the perimeter together, and the edge is where failure starts.
Spring edge inspection – what to check
Do this in late March or early April, once the winter rains stop. Walk the entire perimeter of your driveway and look for:
- A popped edge restraint. The aluminum or plastic edge restraint should be flush and tight against the outer row of pavers. If it’s lifted or tilted, the base under the edge has moved.
- Gaps at the apron. Where the driveway meets the street, the joint should be tight. Widened joints here usually mean the subgrade below has shifted.
- Cupping or “dishing” in the outer row. If the outer pavers sit lower than the middle, water is running toward the edge instead of off the surface, and the base is failing.
- Soft soil along the perimeter. Probe with a screwdriver. If it sinks easily, water is collecting under the pavers and the base needs addressing.
- Expansion joint condition. Any expansion joint against a wall or garage slab should still be filled. If it’s open, water is running into the base at that joint.
Spring is also when we schedule maintenance work for most Downey properties, because the weather is dry enough to cure sand and sealer but not hot enough to flash-cure either. If you’re considering a new install or full rebuild, note that any driveway work on the right-of-way near the street may require a city encroachment permit, and our crews handle that paperwork on our jobs. Our Groundwork Construction Co. of Downey home page gives the full picture of how we run projects like this.
UV Sealer Degradation: Concrete vs. Natural Stone
Sealers are the second arm of paver maintenance, and they’re the one most Downey homeowners get wrong. The mistake isn’t picking the wrong brand. It’s resealing on a fixed calendar regardless of what the surface is telling you. When sealer breaks down under UV, it stops holding the surface together. When sealer holds moisture in, it does worse than nothing.
Degradation timeline in direct Southern California sun
- Concrete pavers, direct afternoon sun: sealer film usually breaks down in 2 to 3 years. You’ll see a dull, chalky cast and water stops beading on the surface.
- Concrete pavers, shaded or under a carport: 3 to 4 years, because UV exposure is reduced.
- Natural stone (travertine, flagstone, bluestone): 3 to 5 years with an impregnating sealer, but almost all stone sealers are meant to be thermally stable and breathable. A film-forming sealer on natural stone degrades faster and can discolor.
- Clay brick pavers: 3 to 5 years, but brick is dense enough that unsealed performance is also acceptable if you prefer a natural look.
When resealing vs. when sealer is trapping moisture
Before you reseal, do a water bead test. Sprinkle a cup of water on three clean spots and watch for 30 seconds. If the water beads and rolls, sealer is intact. If water soaks in quickly, sealer has degraded and you can clean and reseal once the surface is dry. But if you see a milky, hazy, or cloudy film, or if the surface stays damp for more than an hour after rain, the sealer is trapping moisture. Adding a fresh coat on top of that will make it worse. The right move is to strip the failed sealer and let the pavers breathe for a full dry cycle before resealing. In Downey, that means waiting for a stretch of genuinely dry weather, which usually means May through October.
A Month-by-Month Maintenance Calendar for Downey
A generic four-season maintenance template doesn’t match Downey’s actual weather. We get a wet season from November through March with marine-layer mornings and occasional overnight frost, a dry stretch from May through September with intense UV, and a transition in April and October that catches most homeowners off guard. This calendar follows that real pattern.
January through March: the wet-season watch
- Walk the driveway after each storm and note where water pools or runs off. Pooling means the surface has lost slope.
- Pull weeds the day after a rain, when the soil is soft enough to release the root.
- Check that gutters and downspouts on the house don’t empty onto the driveway. A single downspout can erode a joint in one wet season.
- Look for frost lifting at the edges on cold mornings. Downey occasionally drops below freezing, and clay soil responds.
April: the spring reset
- Do the full edge inspection above.
- Clean the joints and check sand depth with a screwdriver.
- Re-sand any joints that failed overwinter. Do this before the weeds get a foothold.
- Photograph the whole driveway for your records (more on why below).
May through September: the UV season
- Rinse the surface monthly with a garden hose to knock off dust, pollen, and the fine grit that traps UV damage.
- Do a water bead test in June or July. If it fails, plan a reseal for later in the season.
- If you reseal, do it early morning in May or June, not in the middle of August heat. Sealer that flashes off too fast doesn’t penetrate.
- Watch for rust stains from cars parked in the same spot. Oxalic acid treatments work, but you’ll need to reseal if the sealer was already marginal.
October: the fall prep
- Clear leaf litter. What sits on wet pavers during the wet season stains and traps moisture.
- Check joint sand again. A dry-season re-sand done in June may need a top-off after summer shrinkage.
- Verify drainage: water should move to the street or a drainage channel, not pool in the middle.
November through December: the reset
- Do one deep cleanup before the first heavy rain.
- Check the driveway apron joint at the street. This is where winter water does the most damage.
- Note any paver that rocks. A single rocking paver in November is three rocking pavers by February.
We work with brands like Belgard, CertainTeed, and Owens Corning on paver and hardscape materials, and the maintenance profile is different for each, but this calendar holds across all of them.
Which Failures Void Manufacturer Warranties
Paver and sealer manufacturers back their products against defects, not against what happens after installation. The distinction matters, because most failures Downey homeowners experience aren’t defects. They’re maintenance neglect, and they void the warranty. The good news is that documentation protects you. Most paver warranties require proof that you maintained the surface, and a simple maintenance record is your evidence.
Failures that typically void a manufacturer warranty
- Deferred joint sand replenishment that leads to paver movement and base failure. Manufacturers generally treat this as an installation or maintenance failure, not a product defect.
- Improper sealer application, especially film-forming sealers on stone that should have received a breathable impregnating sealer. Over-application traps moisture, and trapped moisture voids coverage.
- Vehicle loads beyond the rated surface class. A standard residential driveway paver rated for passenger vehicles will fail under a loaded moving truck or dumpster delivery. If a delivery is coming, put plywood down first.
- Chemical damage. Fertilizers, pool chemicals, oil, and de-icing salt can degrade sealer and the paver surface. Manufacturer instructions spell out what’s excluded.
- Cutting, drilling, or modifying pavers without the manufacturer’s guidance. This one catches homeowners who drill for a gate post hinge or an EV charger cable.
How to document maintenance for warranty protection
- Photograph the driveway four times a year: after wet season, after spring cleanup, mid-summer, and fall prep.
- Keep the receipts from every sealer and joint sand purchase, with the date and the brand name on them.
- Log the date of every re-sand, reseal, and cleaning in a single document, even if it’s just a note on your phone.
- If a paver cracks without impact, photograph it before any repair.
- Save the original installation invoice and the product cut sheets for the pavers and sealer. If you inherited them from a previous owner, request them from the seller or the installer.
Documentation means the difference between a warranty claim that succeeds and a claim the manufacturer declines because the paver was clearly neglected. It also tells the next owner of your home that you kept up the driveway, which shows up in a pre-sale inspection
Common Mistakes to Avoid
- Skipping the sand top-off because the surface still looks fine. From eye level, a depleted joint looks identical to a healthy one. Check with a screwdriver every spring, not by eye.
- Using plain masons sand in the joints instead of polymeric. Plain sand washes out in the first serious Downey storm, and then you’ve wasted a full weekend.
- Resealing on a calendar instead of a water bead test. Sealer that’s still holding in June doesn’t need another coat in August.
- Resealing in humid morning weather. The marine layer doesn’t ruin the paver, but it does trap moisture under a fresh sealer coat. Wait for the afternoon dry window.
- Parking a loaded truck on a residential paver driveway. A refrigerator delivery truck can point-load a paver in a way no passenger car ever will.
- Not checking the driveway apron after winter. The joint where the driveway meets the street takes the water off the whole surface, and it’s the first place to fail.
- Waiting for structural problems before calling anyone. A rocking paver in Downey is cheap to fix. A rocking paver plus a washed-out base is not, and by the time you notice the paver, the base has already been going.
When to Call a Professional
DIY maintenance handles routine re-sanding, weed pulling, and sealer checks. But there’s a category of paver work that isn’t a weekend project: base repair, re-leveling, popping and resetting entire pavers, edge restraint replacement, and any driveway with more than a few square feet of settled or rocking surface. That’s heavy lifting with a compactor, a lot of patience for setting the correct base cross-slope, and a trained eye for what caused the failure in the first place. If you see cupping along the perimeter, gaps at the driveway apron, or two or more rocking pavers, call for an inspection before the next wet season.
Groundwork Construction Co. of Downey offers free estimates in Downey. Call (888) 255-8179 and a live person picks up, any hour. Our technicians bring up to 12 years of experience to every driveway job and each job is covered by our 730-Day Done Right Promise.
See the difference
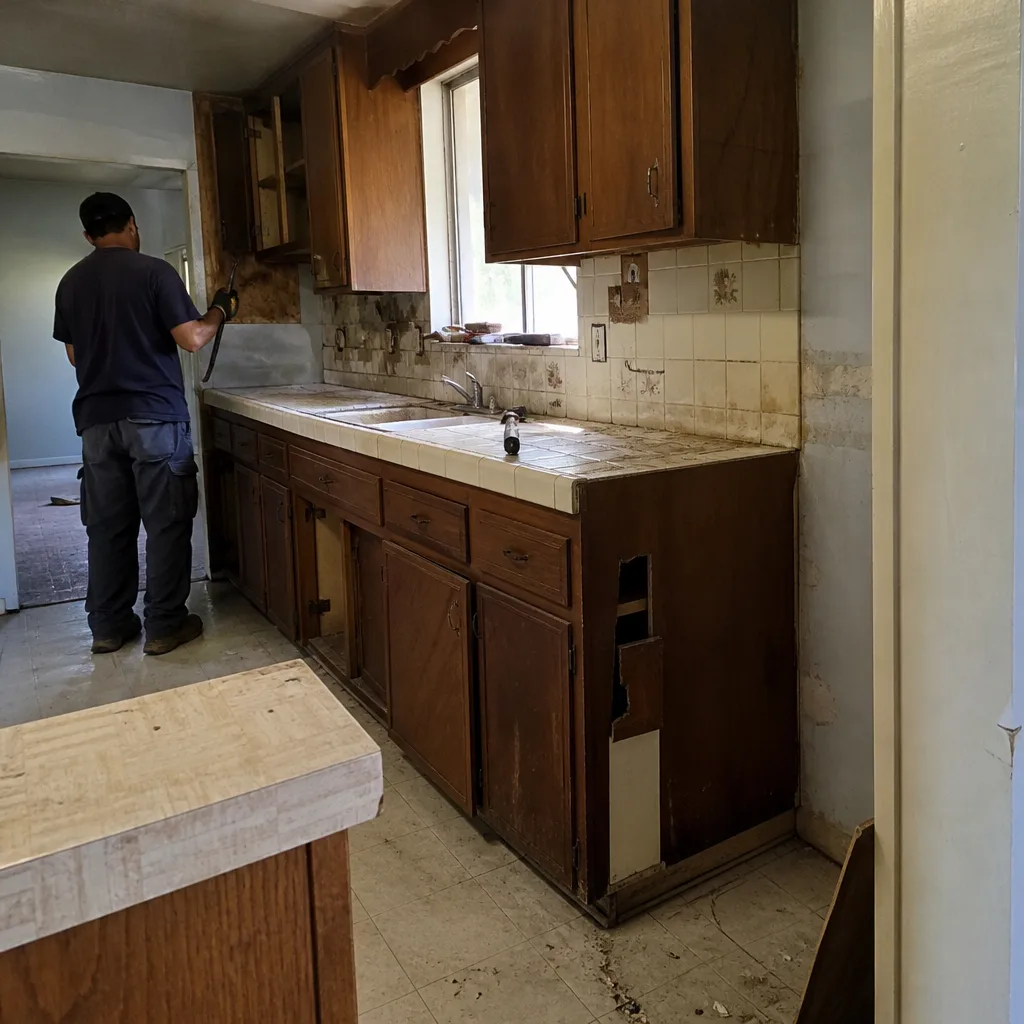 Before
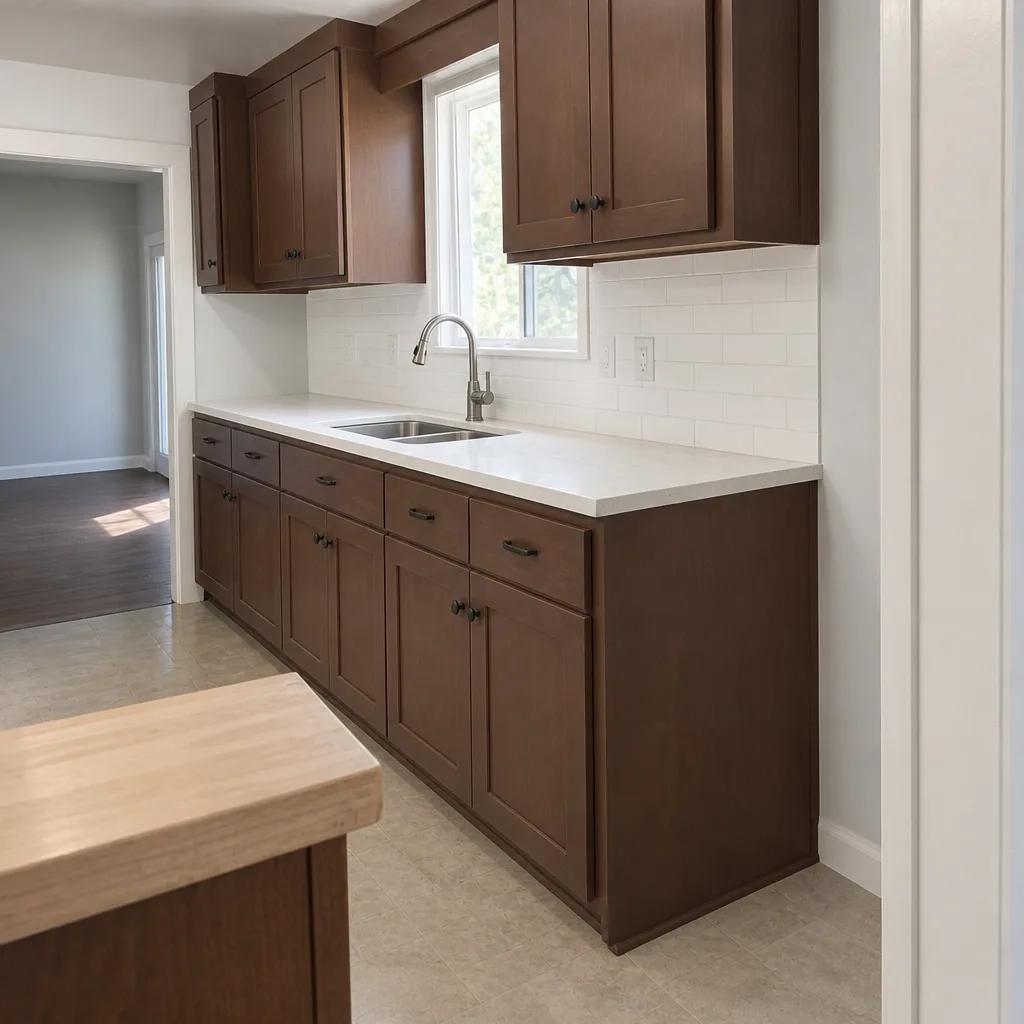 After
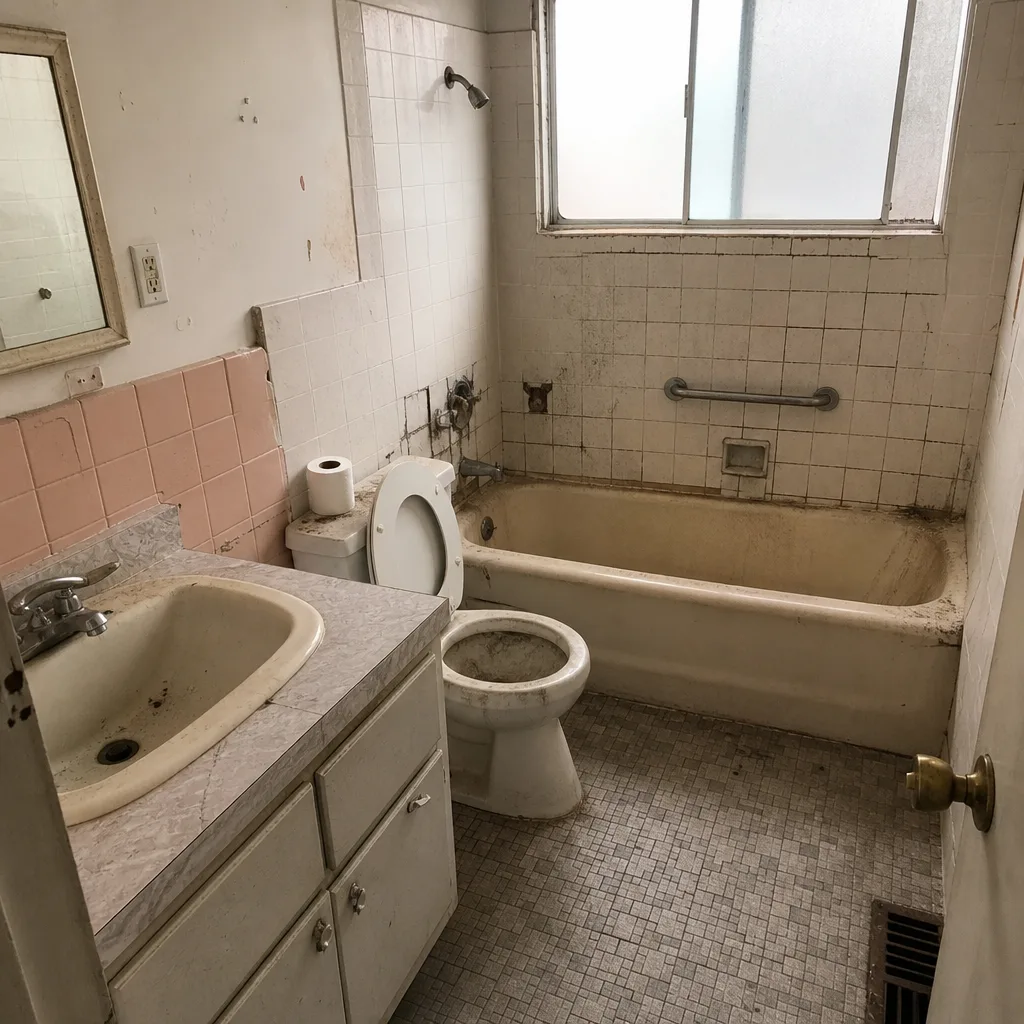 Before
 After
 Before
 After
Frequently Asked Questions
Every 2 to 3 years for most Downey driveways, measured from the last full re-sand, and sooner if you see a line of weeds following a single joint. Polymeric sand doesn’t need a calendar replacement so much as a joint-depth check each spring. If joints have held above a quarter inch of sand depth and no weeds have appeared, you can wait. Call (888) 255-8179 for a free joint and base inspection.
Yes, if the sealer matches the paver material and the surface is dry when it’s applied. Sealing helps hold joint sand in place, reduces UV damage in our long summer sun, and makes cleanup of oil spots easier. It’s not worth it if the wrong sealer type is used, or if sealer is applied over a moisture-trapping surface. The water bead test tells you whether it’s time.
Plan on $150 to $400 per year for DIY joint sand and cleaning products, and $600 to $1,200 for a professional reseal and re-sand every 2 to 3 years on a standard two-car driveway. Major base repair or resetting a full driveway starts around $4 to $10 per square foot and goes up from there if the base has to be rebuilt. Call (888) 255-8179 for a written, line-item quote.
A rocking paver means the bedding sand under it has washed out or migrated. In Downey, the most common cause is polymeric sand depletion combined with clay-soil movement in the wet season. The paver itself is usually fine. A professional pops the unit, re-levels the bedding, resets the paver, and re-sands the joint. Doing this within a season or two of the first rock prevents a base rebuild.
You can, but keep the pressure low, 1,200 to 1,500 PSI at most, and don’t hold the wand close to joint sand. High-pressure washing blows out the polymeric sand and accelerates the failure sequence above. If you already have open joints, spot-clean with a garden hose and a soft brush and re-sand the joints before pressure washing again.
Yes. Groundwork Construction Co. of Downey handles paver installation, base repair, re-sanding, resealing, and full driveway rebuilds, with a free estimate and design consult for every project. Every driveway we work on is covered by the 730-Day Done Right Promise, and our calls are answered by a live person, 24/7. Call (888) 255-8179 to schedule your free estimate.
The Bottom Line
Pavers in Downey fail in a sequence, and the sequence starts with joint sand, not with weight or traffic. Watch the joints, re-sand before weeds move in, inspect your edges every spring for clay-soil heave, reseal only when the water bead test says it’s time, and document everything to protect your manufacturer warranty. Two weekends of work a year is enough to keep most Downey driveways out of the base-repair category. If your driveway has already moved past routine maintenance, our Fence Installation in Downey and Home Additions & ADU in Downey teams also see these drainage and soil issues up close, and they’ll flag anything a driveway repair should account for.
Call (888) 255-8179 to schedule your free estimate in Downey. Upfront pricing, no surprises, and a live person picks up every call. Written by the team at Groundwork Construction Co. of Downey.