Last updated November 17, 2026
Free written scope consultation - allowances, timeline, and change-order rules on paper before a single trade is scheduled
DIY vs Professional Driveway & Pavers: What’s Safe to Do Yourself
Thousands of homeowners have laid beautiful pavers and then watched them fail in year three. Not because they set the stones wrong, but because they prepped the base the way a ten-minute video told them to. The pavers themselves are the easy part. The part that decides whether your driveway lasts thirty years or starts heaving after two winters is buried eight inches down and invisible once the job is done. In this guide we separate the work a careful, capable homeowner can genuinely handle from the work that quietly destroys driveways. We’ll cover the base and compaction phase nobody films, the three jobs that are truly safe to do yourself, the hidden costs that never show up in a materials list, why Downey driveway permits often pull a licensed sign-off back into the picture, and an honest cost comparison between a realistic DIY attempt and a professional install backed in writing.
Quick Answer
Laying the pavers and doing the finish work is within reach for a motivated homeowner, but excavation, base compaction, and final grading are not – a base compacted to the wrong depth for Downey’s soil will settle and heave within a few years regardless of how well the pavers are set. Safe DIY tasks include sealing, re-sanding joints, and replacing a single cracked paver; everything under the surface is where professional installation earns its cost, because a written workmanship warranty is the only thing standing between you and a failed driveway ten years from now.
Styles & brands we work with
- Kitchen remodeling
- Bathroom remodeling
- Home additions & ADU
- Roofing
- Windows & doors
- Driveway & pavers
- Fence
Table of Contents
- The Base Stage: Where DIY Driveways Actually Fail
- Which Paver Tasks Are Genuinely Safe to Do Yourself?
- The Hidden Costs of DIY That Never Show Up in Material Estimates
- Downey Permits, Inspections, and the Licensed Sign-Off Problem
- Honest Total-Cost Comparison: Realistic DIY vs Professional
- Downey Climate, Soil, and Why Paver Bases Behave Differently Here
- Choosing Materials That Match the Lifespan of the Install
- What Lifelong Paver Care Actually Looks Like
The Base Stage: Where DIY Driveways Actually Fail
Every failed paver driveway we’ve torn out in Downey failed at the same layer: the aggregate base. Pavers are a surface. They are not a structure. The structure is the compacted crushed rock underneath, and it is unforgiving of shortcuts. A base that’s two inches too shallow, or compacted with three passes when the soil demanded eight, will not announce its weakness on day one. It waits. It waits for the first wet winter, the first heavy truck, the first summer of expansion and contraction, and then it shows up as a dip, a rocking corner, or a joint that opens wide enough to swallow sand.
The reason rented compaction equipment gets homeowners into trouble is simple. A plate compactor is a tool, not a plan. Knowing how many passes your specific soil needs, at what moisture content, in what lift thickness, is a judgment call that comes from doing it hundreds of times on soils that look like Downey’s – a mix of sandy loam and clay-heavy pockets that behave very differently from one block to the next. One neighbor’s soil may compact in four passes. A property two streets over with more clay may need more lifts, more water, and more passes to reach the same density. YouTube shows you one soil type and calls it universal.
What the Base Stage Actually Requires
- Excavation to depth: Typically 6 to 9 inches below finished grade, depending on whether the driveway carries passenger vehicles only or the occasional heavy delivery truck. Downey driveways that see regular truck traffic need the deeper end.
- Geotextile separation fabric: Prevents the native soil from pumping up into the base and turning your compacted rock into mud.
- Aggregate base in lifts: Usually 4-inch lifts of crushed aggregate, each compacted separately. You cannot compact 8 inches in one pass and get the same result as two 4-inch lifts.
- Moisture control: Base material compacts to density only within a narrow moisture window. Too dry and it stays loose. Too wet and it turns to soup.
- Density verification: A pro can feel and test density. A homeowner with a rented plate compactor has no way to know if the base is actually solid until a year or two later, when it isn’t.
- Grading and drainage: A driveway must slope away from the house and away from the garage floor at a specific percentage. Get this wrong and you get standing water at the garage door – which is a foundation problem, not a paver problem.
This is the reason we tell Downey homeowners that the pavers are the reward and the base is the exam. The exam doesn’t grade on effort.
Which Paver Tasks Are Genuinely Safe to Do Yourself?
We’re not going to pretend every paver task requires a crew. Plenty of the work on an existing driveway is well within reach for a homeowner with patience, a few basic tools, and a Saturday. Here is where the line actually sits.
Safe DIY Task 1: Sealing
Applying a penetrating or film-forming sealer to an existing, structurally sound paver driveway is a genuinely good DIY job. It protects the surface, deepens the color, and helps keep joint sand in place. The catch is preparation: the pavers must be clean, dry, and free of efflorescence before you seal, and the weather has to cooperate. In Downey, that means picking a stretch of days in spring or fall when the marine layer isn’t dumping moisture on the surface, and never sealing when rain is in the forecast within 24 hours.
- Sweep and pressure-wash the surface, then let it dry completely – typically 24 to 48 hours.
- Treat any efflorescence (the white haze) with an efflorescence remover before sealing, or you’ll lock it in.
- Apply sealer with a roller or sprayer in thin, even coats, back-rolling to avoid puddles.
- Keep foot traffic off for the full cure window listed on the product – usually 24 hours minimum.
Safe DIY Task 2: Re-Sanding Joints
Joint sand washes out over time. Topping it up is easy, cheap, and worth doing once a year. Sweep fresh polymeric sand into the joints on a dry day, tamp it down, mist it lightly to activate the polymer, and let it set. This is one of the highest-value maintenance tasks on the list and costs almost nothing.
Safe DIY Task 3: Replacing a Single Cracked Paver
A single damaged paver in a driveway that’s otherwise solid is a fixable job. Here’s the process:
- Pry the broken paver out with a flat pry bar, working from an adjacent joint to avoid damaging neighbors.
- Scrape out the old bedding sand and check that the base underneath is still solid and level. If it’s soft or sunken, the problem is bigger than one stone.
- Set the replacement on a fresh inch of bedding sand, tap it level with a rubber mallet, and re-sand the joints.
- Compact the replaced stone lightly by hand – do not run a plate compactor over a single repaired unit.
What Is Not Safe to DIY
- Full base excavation and compaction for a new driveway.
- Any paving work within three feet of a foundation wall, where improper drainage can push water toward the house.
- Slope corrections or regrading that alter how water leaves the property.
- Removing or resetting load-bearing pavers under a garage apron.
- Stamped or permeable paver installs that require engineered sub-base design.
The Hidden Costs of DIY That Never Show Up in Material Estimates
The DIY cost comparison most homeowners run in their head adds up pavers, base rock, sand, and maybe a bag of polymeric sand. That number looks tempting. It’s also incomplete by a wide margin. Here’s what a real DIY budget looks like for a two-car driveway in Downey:
- Tool rental: Plate compactor, cutoff saw with a diamond blade, wheelbarrow, hand tamper, laser level. Most jobs require at least two rentals over the course of the project, and weekend rates add up quickly.
- Disposal fees: Excavated soil and old concrete have to go somewhere. A full driveway excavation typically means multiple dumpster loads or a haul-away service, and both cost real money.
- Failed first attempts: Homeowners who get the base depth or compaction wrong sometimes redo the job. That’s not a small cost – it’s the entire material budget spent twice.
- Time: A full driveway install is genuinely a multi-week project for one person working evenings and weekends. If you value your time at anything, that’s real cost.
- Body cost: Moving 6 to 10 tons of base rock by shovel and wheelbarrow is a young person’s game. We’ve seen more than one homeowner call us mid-project for exactly this reason.
- Replacement materials for cutting errors: Cutting pavers to fit edges, corners, and curves takes practice. A first-time cutter goes through more material than they budgeted for.
- Missed permit fees: If a permit is required and you don’t pull one, the eventual cost of fixing that is significantly higher than the permit itself.
Add these up and the gap between DIY and professional narrows fast – often to the point where the warranty and the time savings tip the decision on their own.
Downey Permits, Inspections, and the Licensed Sign-Off Problem
Here’s the part most DIY guides skip entirely. In Downey, driveway work frequently involves the city’s building department, and the permit process is not a formality. Whether a permit is triggered depends on what you’re doing: a simple paver overlay on an existing sound driveway usually doesn’t require one, but new construction, significant regrading, drive approaches that connect to the public right-of-way, and any work that alters drainage patterns typically do.
Where DIY gets stuck is at the inspection stage. Downey’s inspectors look at the work behind the surface, and if a permit was pulled for structural or drainage-related driveway work, the inspection may require that the work was performed by or under the supervision of a licensed contractor. That requirement is what pulls the licensed sign-off back in regardless of who actually did the physical labor. A homeowner who does the work themselves and then can’t get the sign-off has a driveway that may need to be re-examined by a licensed professional before the permit can close – which costs more than the original plan.
This is why we always recommend the same thing to Downey homeowners: call the city’s building department before you buy a single paver, and ask specifically whether your scope of work triggers a permit and whether an inspection will require licensed sign-off. It takes one phone call to avoid a much larger problem.
In our experience, the Downey driveway projects that go smoothest are the ones where permits were pulled first, drainage was planned before excavation, and the inspection passed on the first try. That’s the standard our Driveway & Pavers in Downey service is built around – permits handled, inspections passed, and a written warranty on the workmanship. You can read about the full range of what the Groundwork Construction Co. of Downey home page covers if you want the broader picture of how the same discipline shows up across trades.
Honest Total-Cost Comparison: Realistic DIY vs Professional
Let’s put real ranges on the table. The numbers below reflect what we see in the Downey market for a typical two-car driveway, around 400 to 600 square feet, assuming mid-grade concrete pavers. Every driveway is different, so treat these as planning ranges, not quotes.
| Cost Line | DIY (Realistic) | Professional Install |
|---|---|---|
| Pavers and material | $2,400 – $4,000 | $2,400 – $4,000 |
| Base aggregate and sand | $600 – $1,200 | $600 – $1,200 |
| Tool rental | $400 – $900 | Included |
| Disposal and haul-away | $500 – $1,200 | $400 – $900 |
| Labor | Weeks of your time | $2,500 – $5,000 |
| Permit and inspection management | You handle it | Handled for you |
| Workmanship warranty | None | 730-Day Done Right Promise |
| Ballpark total | $3,900 – $7,300 + time + redo risk | $5,900 – $11,100 |
Those ranges overlap more than most homeowners expect, and the DIY column doesn’t price the risk of a base that fails in year three. When a driveway has to be pulled up and rebuilt because the base settled, the homeowner pays for the whole project twice. That’s the real cost asymmetry – not the day-one invoice, but the probability of a full redo.
The professional column comes with a written guarantee, and that’s the piece that makes the comparison meaningful. Groundwork backs its driveway and paver work with the 730-Day Done Right Promise: if it’s not done right, we make it right. That kind of coverage on a job that took you a month to botch on weekends doesn’t exist – and it’s a big part of why the Downey paver service pricing ends up looking reasonable next to the honest DIY number.
Downey Climate, Soil, and Why Paver Bases Behave Differently Here
Downey’s climate is mild enough that a lot of national paver guidance doesn’t map cleanly onto it. We don’t have hard winters, so we don’t have freeze-thaw heave the way installers in the Midwest worry about. What we do have is a long dry season followed by concentrated winter rain, and that pattern creates its own problems.
During a long dry summer, clay-heavy soils in parts of Downey shrink and pull away slightly. When the first real winter rain arrives, those same soils swell and push up against the base. A properly designed base with the right thickness and a geotextile separation layer handles this movement without transmitting it to the pavers. An under-built base doesn’t. Instead, the pavers lift or shift, joint sand washes into the gaps, and by February you’re looking at a ripple in the surface that didn’t exist in September.
We see the most base-related failures in Downey on driveways that sit on flat lots without much fall, and on older properties where the existing subgrade was graded before modern drainage standards. On those lots, the paver installation is only as good as the drainage plan underneath it. Getting that wrong is a Downey-specific hazard that a national installation video has no way to warn you about.
Marine layer moisture also matters for sealing timing. Sealing too early in the morning in June, when Downey’s marine layer is still heavy on the pavers, can trap moisture and cause cloudiness or adhesion problems. Waiting until mid-morning to begin sealing is worth the delay.
Choosing Materials That Match the Lifespan of the Install
The paver decision that matters most is not the color or the shape. It’s whether the material you’re choosing has the compression strength and the dimensional consistency to survive the base and drainage you’ve built. A great base with bargain-bin pavers will still fail around the edges and at the corners. Premium pavers on a bad base will fail too, but at least the surface material won’t be the limiting factor.
Groundwork works from a curated set of verified brand partners in each category – – and for driveways and pavers, that means specifying materials with a proven track record on Downey’s climate profile. When homeowners ask us about the visual finish, we usually steer the conversation to brands like Belgard for paver systems, and for the hardscape-adjacent touches around a front-entry driveway, brands like American Standard and Delta show up on the outdoor surfaces and surrounding fixtures that pair with the install. The point is not the logo on the box; it’s that the material was chosen for this install, not just for what was available on sale that week.
This is the same standard we apply across every line of work we do – whether it’s the hardscape out front, the Fence Installation in Downey that defines the property line, or the Home Additions & ADU in Downey work that anchors the rest of the property. Same partner standard, same warranty. Built to last, backed in writing.
What Lifelong Paver Care Actually Looks Like
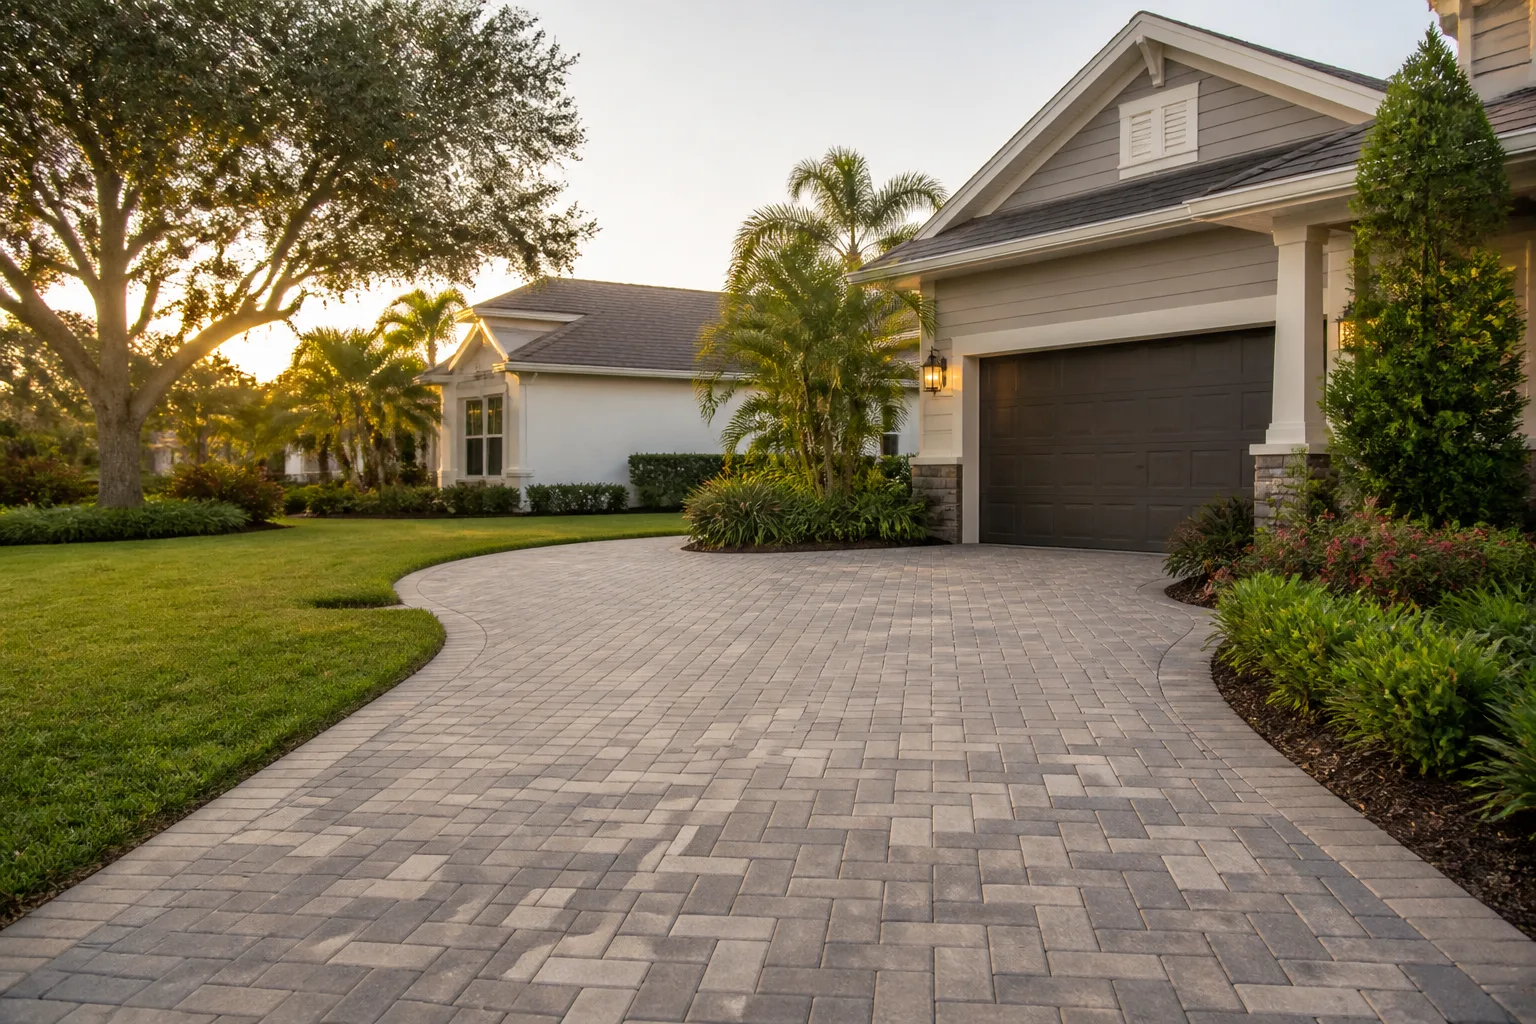
A paver driveway installed correctly, on a proper base, will outlast most of the other surfaces on your property. Keeping it that way is a short list of tasks with long payback.
- Re-sand joints annually. Polymeric sand washes out over a year or two, and exposed joints are the number one cause of paver movement. A bag of sand costs a fraction of a repair.
- Seal every 3 to 5 years. Penetrating sealer fades over time; film-forming sealer wears at high-traffic areas. Reapply on the supplier’s recommended schedule, and prep is everything.
- Rinse quarterly. Sweep and rinse the surface a few times a year to clear Downey dust and debris that accumulates in joints and dulls the color.
- Watch for efflorescence. The white haze that appears on some pavers is a natural mineral migration. Address it promptly with an efflorescence remover before sealing.
- Fix single cracked pavers fast. A cracked stone is an entry point for water. Replacing one paver is a two-hour job; letting the joint failure spread is a much bigger one.
- Keep drainage clear. Clear any swale, channel drain, or surface path water uses to leave the driveway. Blocked drainage is the fastest way to undermine a good base.
None of this is complicated. All of it matters, and all of it is easier to keep up on when the original install was built to hold for long enough to be worth maintaining.
Common Mistakes to Avoid
- Compacting in one thick lift. Eight inches of base rock compacted as one lift will never reach the density of two four-inch lifts. The driveway looks fine for two years and then doesn’t.
- Skipping the geotextile fabric. On Downey’s mixed soils, going without a separation layer means native soil works its way up into your base and softens it. It’s the cheapest part of the job and the easiest to skip.
- Sealing before the pavers are truly dry. Downey’s marine layer can leave moisture on the surface well into the morning. Sealing early traps it and clouds the finish. Wait until mid-morning at least, and check the forecast.
- Ignoring the permit question. A homeowner who does the work and then discovers that Downey’s inspection will require licensed sign-off faces a much larger cost than the permit would have been. Call the building department first.
- Buying pavers before the base plan is set. Material choice should follow base design, drainage, and traffic load – not the other way around. Picking pavers first often pushes the project toward a base that’s too thin for the material.
- Underestimating disposal weight. A typical Downey driveway excavation produces several tons of soil and old material. The cost of getting rid of it is real, and it’s the line most DIY budgets miss.
- Treating a single failed paver as a single-paver fix. If one paver has cracked or dropped, the base underneath is usually the cause. Replacing the stone without diagnosing the base just defers the failure to the next paver over.
See the difference
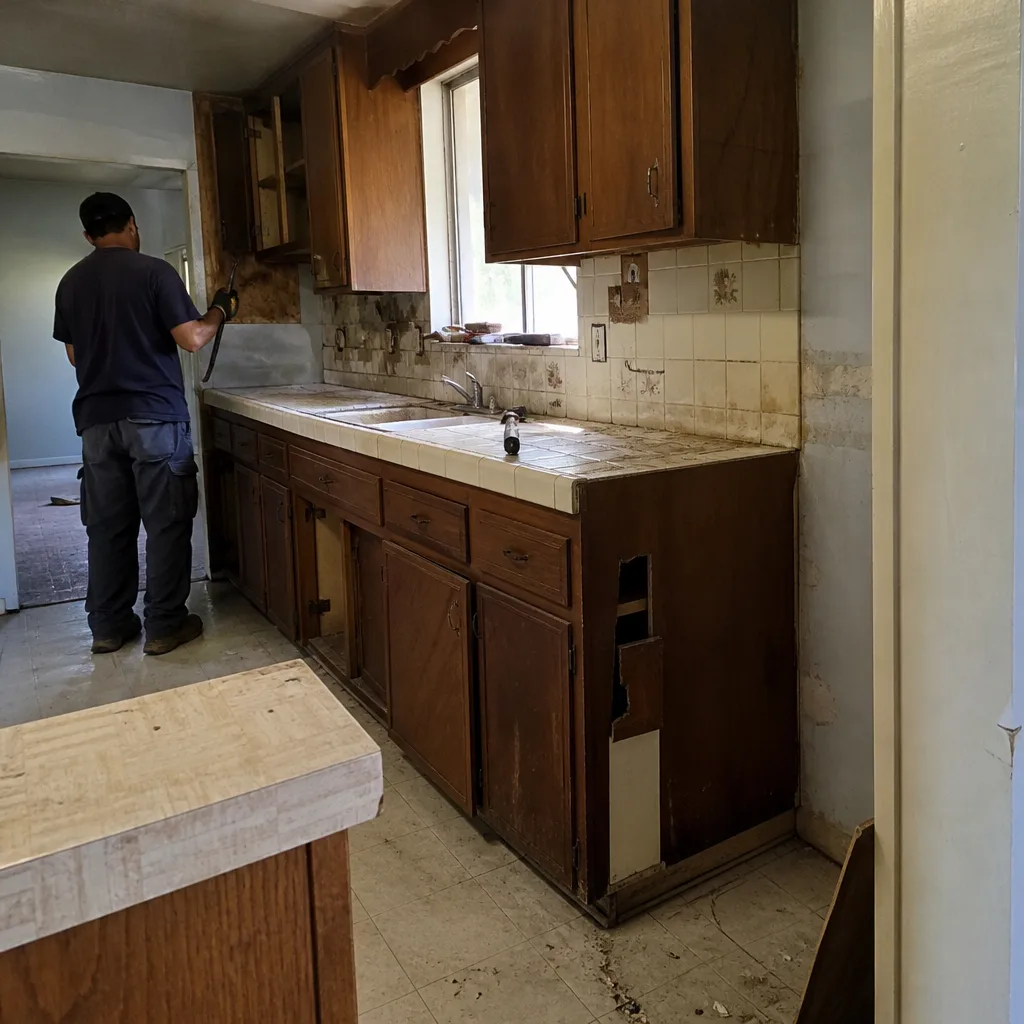 Before
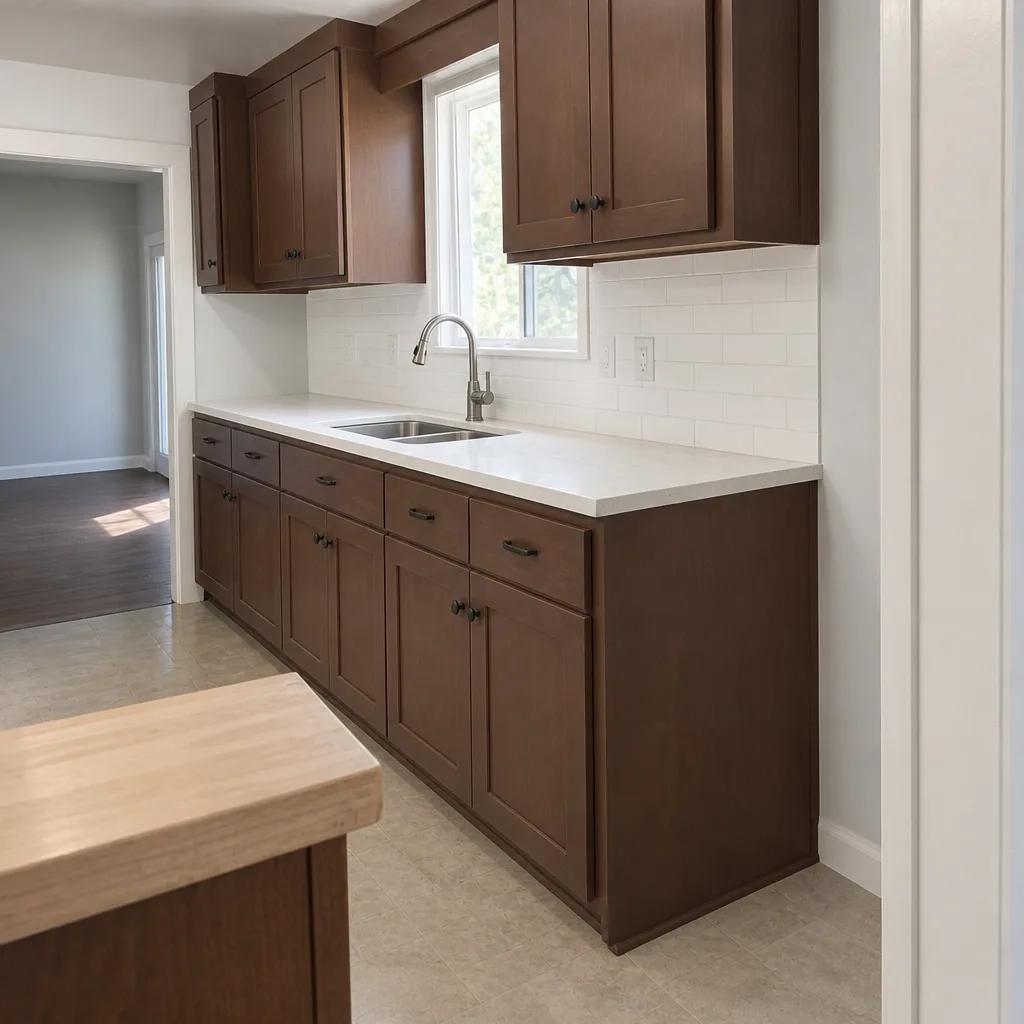 After
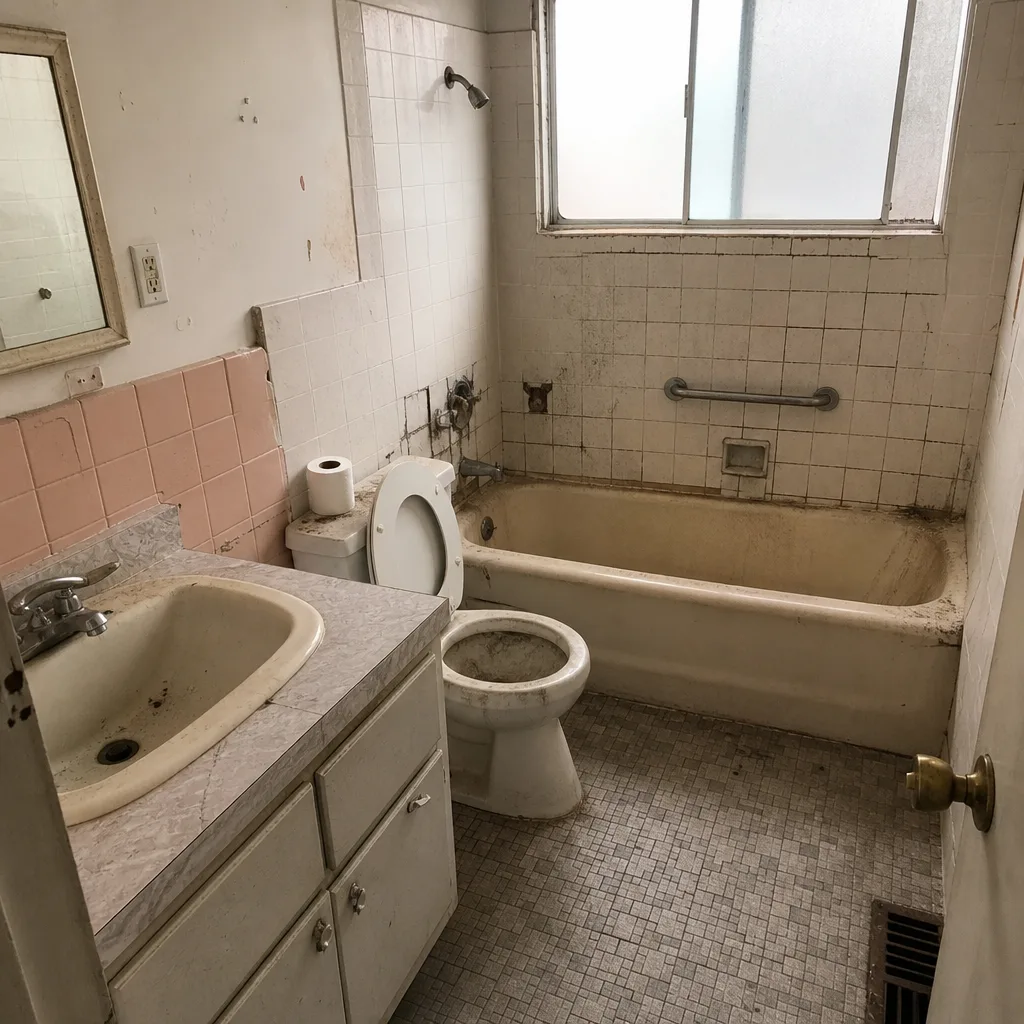 Before
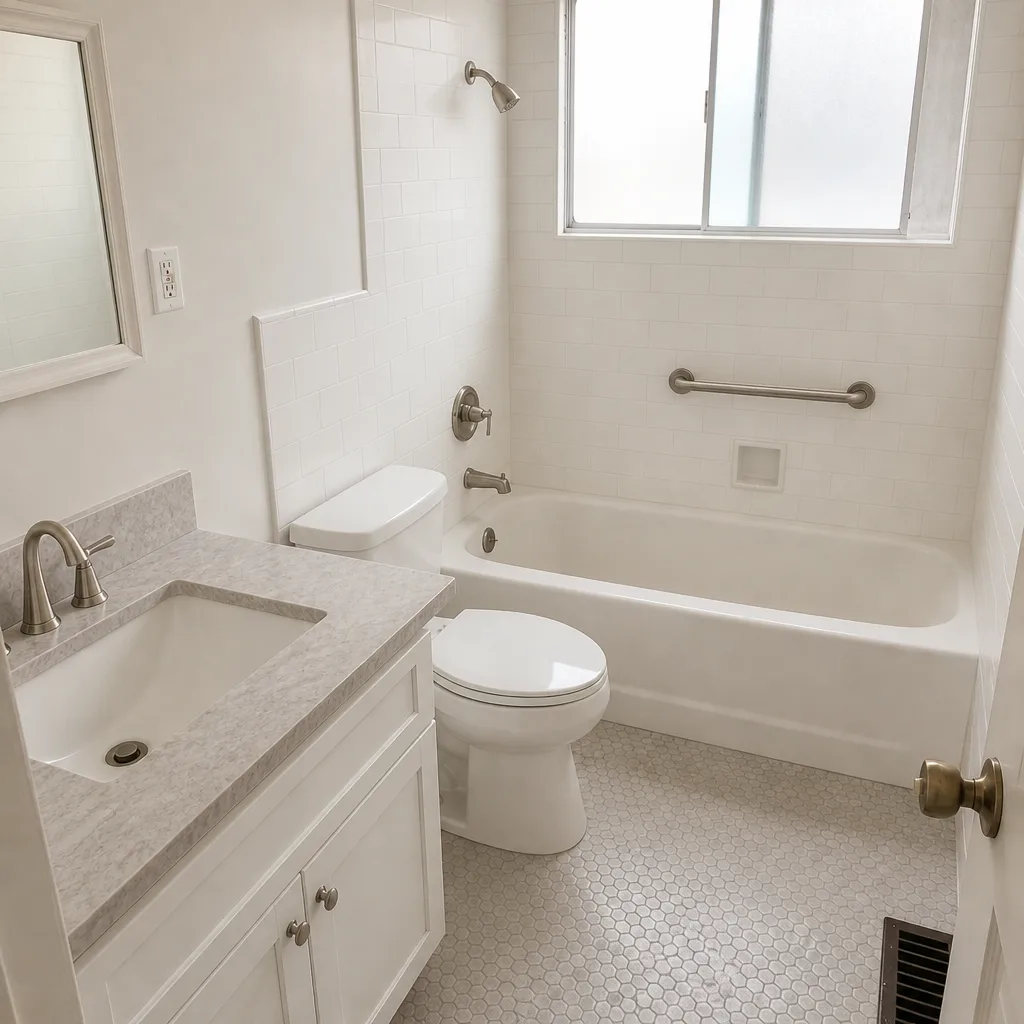 After
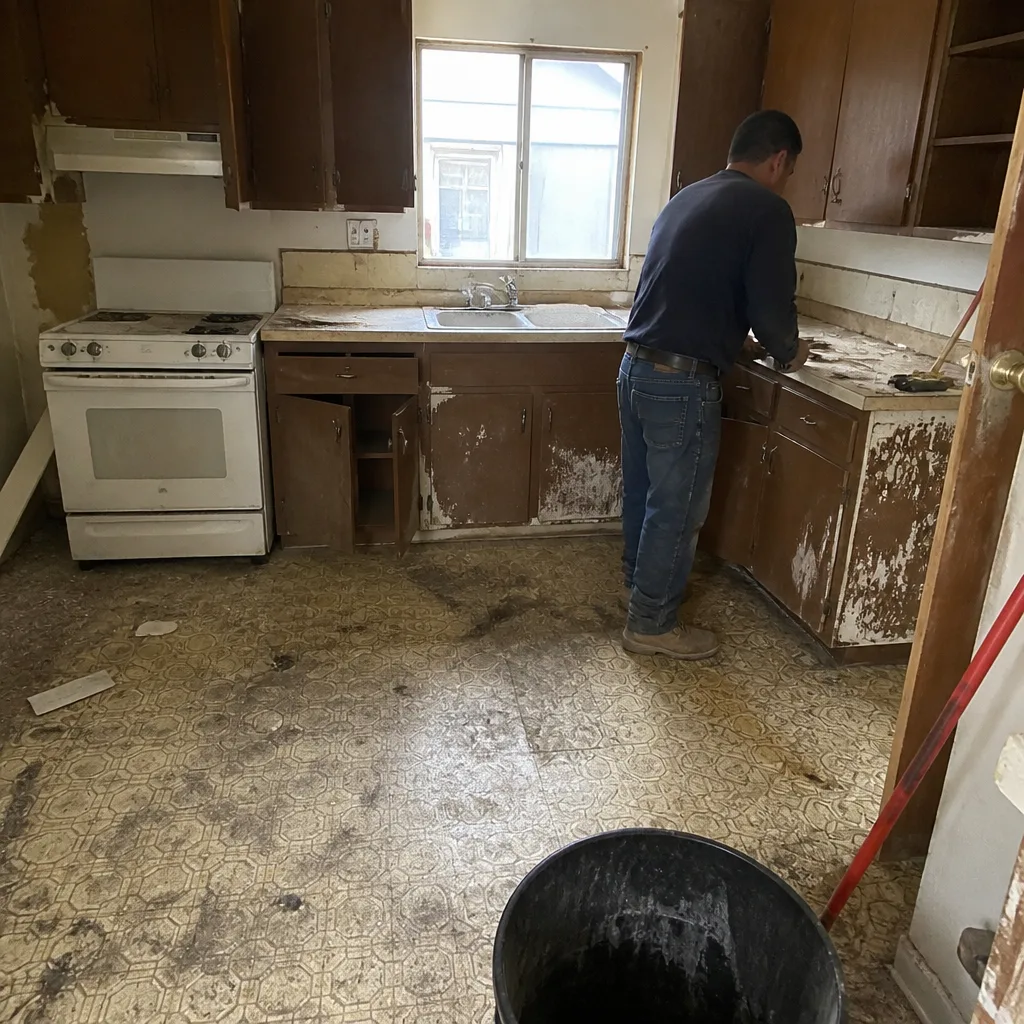 Before
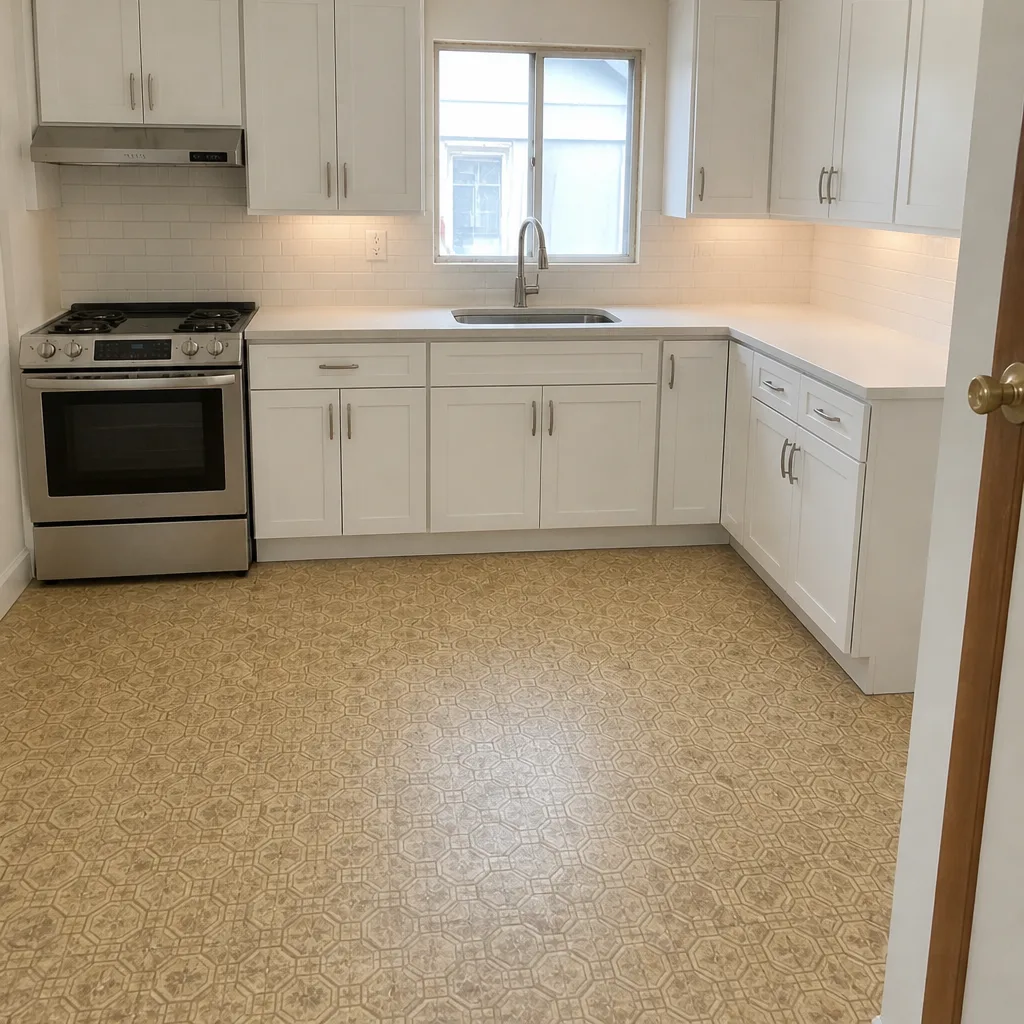 After
When to Call a Professional
If you’re sealing an existing, sound driveway or replacing a single cracked paver, we’d tell you to go for it – those are genuinely good DIY jobs. But if the project involves any excavation, any depth of base work, any change to how water leaves your property, or any paver that sits under a vehicle load, that’s the point where a licensed professional install is the right call. Same if you’re staring at an existing driveway that’s already moved, dipped, or opened joints – that’s not a cosmetic problem, and it usually can’t be solved from the surface. Downey homeowners get a free estimate with a written line-item quote, permits pulled, and the 730-Day Done Right Promise behind the workmanship – call (888) 255-8179 to schedule.
Frequently Asked Questions
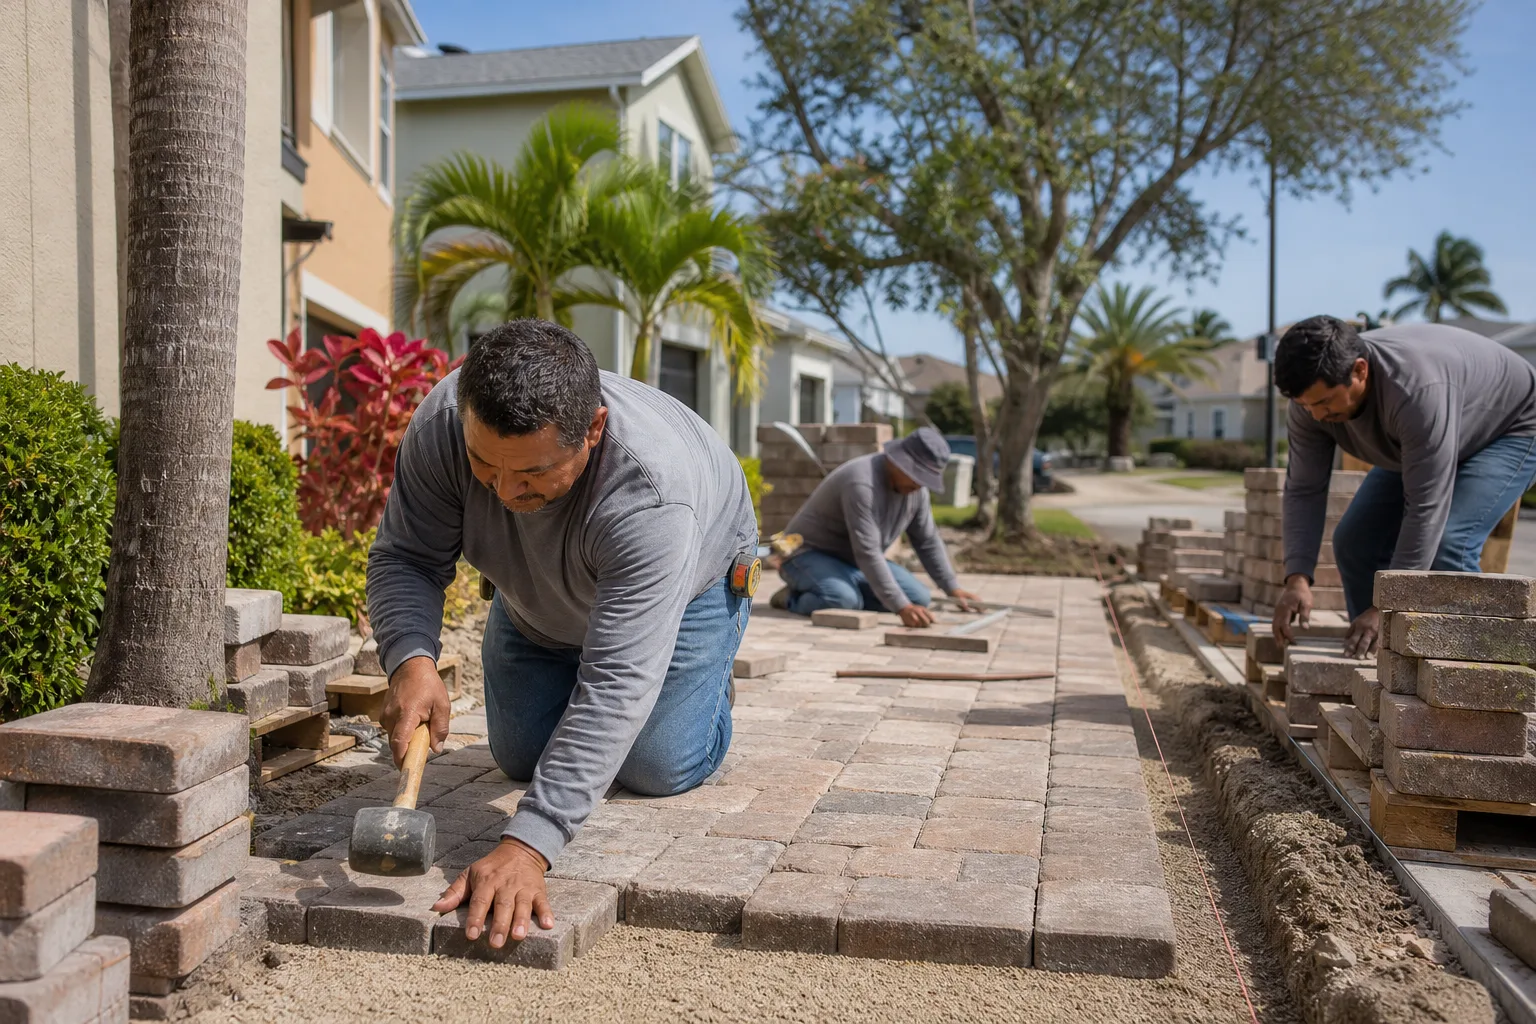
Yes, in the narrow sense that you’re physically capable of setting pavers on an existing, sound base – but a full new driveway install involves excavation, base compaction, drainage, and grading, and those are the phases where DIY driveways most often fail. If you’re replacing a single paver or re-sanding joints, that’s a good DIY job. If you’re building a new base, call (888) 255-8179 for a free estimate before you rent a plate compactor.
A typical two-car paver driveway in Downey runs roughly $6,000 to $11,000 depending on size, material, base depth, and permit requirements – with premium pavers and drainage corrections pushing toward the top of that range. Call (888) 255-8179 for an exact quote; estimates are free and include a written line-item breakdown.
No. We quote upfront and we honor the number – the price you see is the price you pay, with no change orders for work already quoted. The only exception is if the homeowner changes the scope mid-project, and we’ll tell you that in writing before anything moves forward. Call (888) 255-8179 to get your written quote.
Yes. When a permit is required for your scope of work, we handle the application, the inspection, and the sign-off so you don’t have to chase the building department. Call (888) 255-8179 and we’ll walk you through whether your project triggers a permit.
A typical two-car paver driveway takes several days to about two weeks with a professional crew, depending on base depth, permit inspections, and material availability – a realistic DIY timeline is multiple weekends and likely longer. Call (888) 255-8179 to get a project schedule for your specific driveway.
Movement, dips, or opened joints that show up two to three years after install – not immediately – are the classic signs of a base that was under-compacted or under-built. The surface looks perfect for a season or two, and then the base gives. Call (888) 255-8179 and we’ll take a look before the next rainy season makes it worse.
The Bottom Line
DIY paver work is worth it for the parts that sit on top of a sound structure: sealing, re-sanding, replacing a single cracked paver. Those tasks reward a careful homeowner and cost far less than a professional call-out. Everything under the surface is where the equation flips. A base built with three passes instead of eight, or two inches shallower than the soil demands, doesn’t announce itself until year three – and by then the whole driveway comes out. If you want the driveway done once, with the permits pulled, the inspections passed, and a written guarantee behind the work, the professional install is the safer math. From foundation to finish line, we build it and we back it in writing.
If you’re ready to price the job for real, call (888) 255-8179 for a free estimate on your driveway, pavers, or any other project around the property. Live person, 24/7 – no voicemail, no delays. Upfront pricing, no surprises, and $1,000 off projects over $10,000 with 0% financing for 18 months available.
Written by the team at Groundwork Construction Co. of Downey.