Last updated November 17, 2026






Free written scope consultation - allowances, timeline, and change-order rules on paper before a single trade is scheduled
Bathroom Remodeling Troubleshooting: Common Problems and How to Fix Them
The most expensive bathroom repair call we get isn’t a failed tile job. It’s a shower that was tiled directly over drywall instead of cement board, found two years later when the wall starts moving under your hand. By then the studs behind it are soft, the tile is tenting, and what looked like a perfectly good remodel at the final walkthrough has turned into a full tear-out. Most of the bathroom problems homeowners in Downey call us to fix weren’t caused by time or hard water. They were caused by the last contractor’s shortcuts. This guide breaks down the five failure patterns we see most, how to diagnose each one, and what your options are when someone else’s work starts falling apart.
Quick Answer
The most common bathroom remodeling problems are failed waterproofing behind tile, shower leaks from grout, pan liner, or drain failures, mold from undersized exhaust fans, rocking toilets from a broken flange, and grout cracking in wet zones. Most are caused by material shortcuts during the original install that show up 18 to 36 months later. Fixing them ranges from a few hundred dollars for a wax ring and flange repair to several thousand for a shower rebuild when the waterproofing failed.
Styles & brands we work with
- Kitchen remodeling
- Bathroom remodeling
- Home additions & ADU
- Roofing
- Windows & doors
- Driveway & pavers
- Fence
Table of Contents
- The Five Material Shortcuts That Fail in 18 to 36 Months
- Diagnosing a Shower Leak: Grout, Pan Liner, or Drain
- The Ventilation Problem Almost Every Remodeled Bathroom Has
- Toilet Rocking and Wax Ring Failure: What It Really Signals
- Mold Behind the Walls: Why It Comes Back After Cleaning
- Grout Cracking and Tile Movement in Wet Zones
- What Recourse You Have When a Remodel Fails Inside the Warranty
- Repair vs. Replace: When a Fix Is Throwing Money Away
The Five Material Shortcuts That Fail in 18 to 36 Months
A bathroom can look flawless at completion and still be built to fail. We’ve torn into showers in Downey that were less than three years old and found every single shortcut in the same wall cavity. Here are the five we see most, ranked by how much damage they cause when they finally give out.
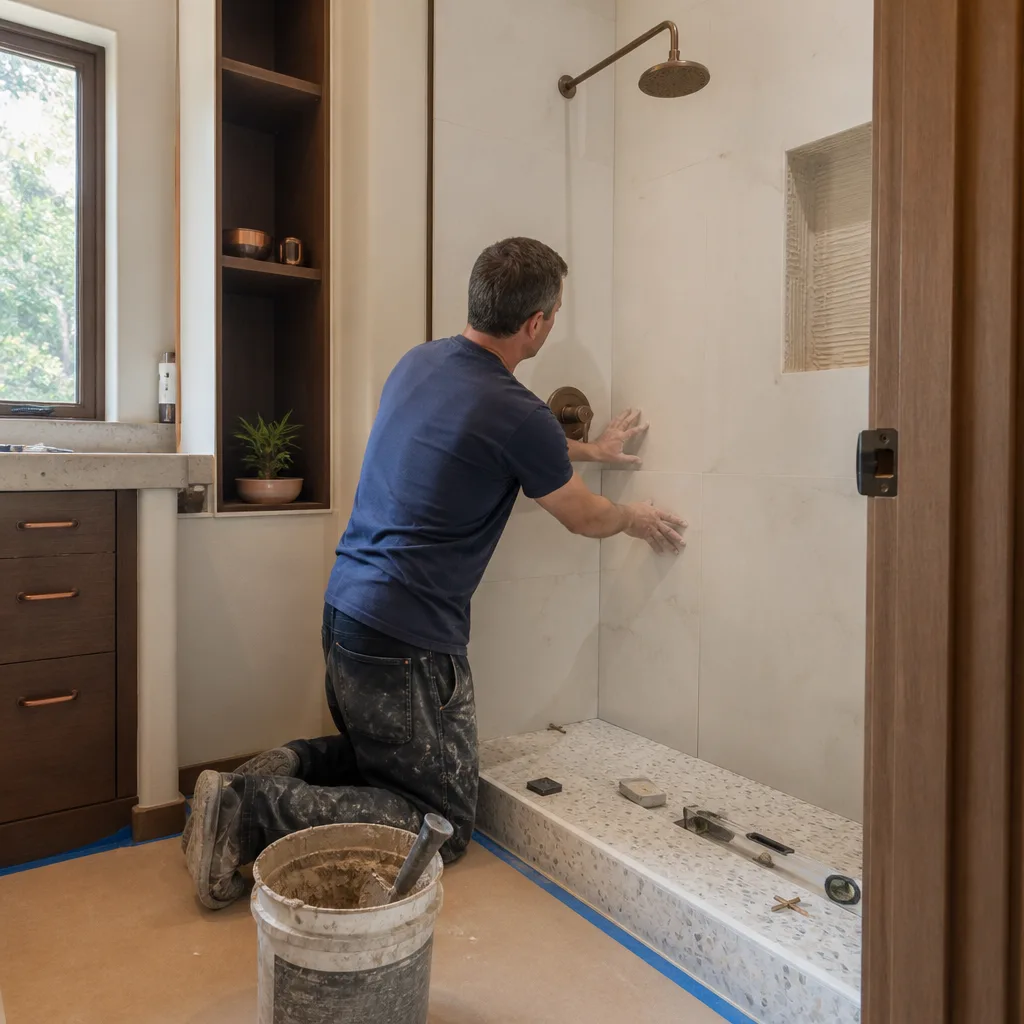
- Greenboard or regular drywall behind the shower instead of cement board. This is the single most expensive shortcut. Drywall isn’t waterproof, and in a shower it wicks moisture into the paper facing and the studs behind it. By the time you see the problem, the framing is compromised.
- No waterproofing membrane over the backer board. Cement board resists water, but it doesn’t stop it. A proper shower needs a liquid-applied or sheet membrane behind the tile. Leaving it out means water travels straight into the wall.
- Standard grout in a wet zone instead of epoxy or urethane. Cementitious grout absorbs water and cracks as the substrate moves. In a shower or on a bathroom floor with a lot of traffic, it fails early. Epoxy and urethane grouts flex and stay sealed.
- Tiling over a wood subfloor instead of a proper tile backer. Wood swells with humidity. Tile on wood cracks along the seams. A cement or foam backer board is the only thing that holds a floor tile assembly.
- Reusing the original pan liner or skipping the flood test. A pan liner installed without a 24-hour water test can hide a pinhole that leaks into the ceiling below for months before anyone notices.
Each of these looks indistinguishable from a proper install at the final walkthrough. That’s the whole problem. You can’t spot them with your eyes. You can only find them with a moisture meter, a demolition hammer, or a slow leak that shows up on the ceiling of the room below. A written line-item quote that names the backer board, membrane, and grout spec is the only protection a homeowner really has. If a bid just says “tile shower,” ask what’s behind it.
Diagnosing a Shower Leak: Grout, Pan Liner, or Drain
Not every shower leak is the same, and the fix cost swings hard depending on which one you have. A grout failure is a few hundred dollars. A pan liner failure is a full shower rebuild. A drain connection failure sits somewhere in between, and it’s the one homeowners most often misdiagnose. Here’s how to tell them apart.
Grout failure
Signs: water staining on the grout lines, discoloration in the corners, a musty smell that gets stronger after showers. The tile itself is still solid when you tap it. This is the cheapest and most forgiving failure. Regrouting with epoxy and resealing the shower usually solves it. If the shower is older than ten years and the grout is original cement grout, this is where you start.
Pan liner failure
Signs: water pooling on the floor that doesn’t drain, a soft spot or spongy feel when you step near the drain, visible water staining on the ceiling below, or a permanent mildew smell that comes back days after cleaning. A pan liner failure means water is escaping the shower base and travelling into the subfloor or the ceiling cavity. In Downey, where many homes sit on slab or pier-and-beam foundations, a pan liner leak often shows up as a water stain on the exterior wall or the garage ceiling long before it appears inside the bathroom.
Drain connection failure
Signs: a leak that only happens while the shower is running and stops within an hour, water visible at the base of the drain from below, or a loose drain fitting you can wiggle. The drain is set with a clamping ring and a rubber gasket, and when that gasket fails the water finds a path that has nothing to do with the tile. This one is often fixable from below without a full tear-out, but only if the ceiling below is accessible.
If you’re not sure which one you have, the test is simple: plug the drain, fill the shower pan with an inch of water, and check the ceiling below and the base perimeter for seepage over the next 24 hours. If water escapes, it’s a pan or drain problem. If it doesn’t, but the grout stays dark and wet, it’s grout. Either way, a leak that’s been running for months is a framing problem waiting to happen.
The Ventilation Problem Almost Every Remodeled Bathroom Has
Here’s a pattern we see constantly in Downey. A homeowner upgrades the shower. They add a rain head, a body sprayer, a bigger tile surround, maybe a glass panel enclosure. The shower is beautiful. But the exhaust fan is the same 50 CFM builder-grade unit that was installed when the house was built, and now the bathroom has more shower output and more enclosed volume than the fan was ever sized for. Twelve months later there’s black mold in the corners.
Bath fans are rated in cubic feet per minute, and the rule of thumb is one CFM for every square foot of bathroom floor. A standard 5-by-8-foot Downey bathroom needs a 40 CFM minimum, but a bathroom with an enclosed steam-generating shower really wants 80 to 110 CFM, and the run time matters as much as the size. Most people turn the fan off the second they leave the room. The fan needs to run 20 to 30 minutes after a shower to clear the moisture that’s still in the air.
Three things to check if your bathroom remodel has a mold problem that keeps returning:
- Fan size vs. room volume. A 50 CFM fan in a 60-square-foot bathroom is under-sized on day one. Add a rain head and it’s hopeless.
- Duct routing. Builders sometimes vent a bathroom fan into the attic instead of through the roof. That pushes moist air into the attic cavity, where it condenses on the roof sheathing and causes rot. Look for ductwork that runs to a roof or wall cap, not that just terminates in the attic air.
- Fan run time. A fan on a 10-minute timer switch is a normal fix. Continuous run during and after showers solves most of the problem without a rebuild.
If the fan is under-sized, replacing it with a properly rated unit is a job that most homeowners can have done for a fraction of the cost of a mold remediation. It’s one of the highest-value fixes in the whole bathroom, and it’s the one most often skipped when a remodel is priced out.
Toilet Rocking and Wax Ring Failure: What It Really Signals
A rocking toilet is one of those problems that feels minor until it becomes a subfloor repair. The wax ring is the seal between the toilet and the floor drain, and it’s designed to compress once and hold. When the toilet rocks, the seal breaks loose, water escapes onto the floor, and the subfloor around the flange slowly rots. In Downey’s older housing stock, that rot often travels along the framing before it shows up as a soft spot in the floor.
The question homeowners always ask is whether this is a DIY fix or a call-a-pro situation. It depends entirely on what’s under the toilet once you pull it up.
When it’s a DIY fix
- The flange is intact and sits flush with or slightly above the finished floor.
- The subfloor around the flange is solid and dry, with no soft spots.
- The toilet rocks because the bolts were loose or the flange slot was cracked, not because the floor is damaged.
In that case, a new wax ring, new closet bolts, and a proper shim job will fix it in an afternoon.
When it’s a subfloor problem
- The flange is cracked, rusted, or sitting below the finished floor line.
- The floor around the toilet is soft, spongy, or has visible water staining.
- The toilet rocks because the subfloor has failed under the flange, not because the bolts were loose.
This is where the job gets bigger fast. A broken flange usually means cutting out the old ABS or cast iron fitting and replacing it, which means opening the floor. If the subfloor is water-damaged, that section has to come out and be replaced before the toilet can go back. That’s a licensed-plumber-and-carpenter job, and it’s exactly the kind of thing that shows up in a home that was remodeled by someone in a hurry. A toilet installed on top of a rotten flange is a two-year time bomb.
Mold Behind the Walls: Why It Comes Back After Cleaning
If you’ve cleaned mold off a bathroom ceiling or wall and it returns within weeks, the mold isn’t the problem. It’s a symptom. Mold needs three things to grow: moisture, organic material, and time. Cleaning removes the visible mold, but it doesn’t remove the moisture source, and the moisture source is almost always inside the wall cavity or in the ventilation system. This is exactly why mold remediation without fixing the underlying cause fails.
In our experience with Downey bathrooms, mold returns after cleaning for one of three reasons:
- The exhaust fan is under-sized or venting into the attic. The moisture never leaves the room, it just recirculates. This is the most common cause and the easiest to fix.
- The shower waterproofing failed. Water is getting behind the tile and feeding mold inside the wall cavity. The mold shows up on the inside face of the drywall where moisture wicks through, and it comes back because the water source never stopped.
- The toilet or shower drain has a slow leak. Water sits under the floor, invisible, feeding mold growth that migrates up the wall. This one needs a moisture meter to find.
The right sequence is diagnose, then fix the water source, then remediate. Cleaning first and asking questions later is how homeowners end up doing the same job twice. If a bathroom has been remodeled and the mold still comes back, the remodel is the prime suspect, and a moisture inspection is the cheapest way to prove it.
Grout Cracking and Tile Movement in Wet Zones
Cracking grout in a shower or on a bathroom floor tells you one of two things: the grout is the wrong type for the application, or the substrate is moving under the tile. Both are fixable, but the fixes are very different in cost. Cracking that runs in a straight line along tile seams usually points to substrate movement. Cracking that spiderwebs out from a corner or a drain usually points to grout failure.
What a lot of homeowners don’t know is that cement grout is not waterproof. It’s water-resistant at best, and in a wet zone it absorbs moisture through the pores and holds it against the backer board. That’s why epoxy or urethane grout is the right choice for showers and bathroom floors, and why standard grout in a wet zone fails within a few years. If a remodel was priced with cement grout to keep the number down, that’s a cost the homeowner pays later.
Here’s what to look at before you re-grout:
- Tap the tile. A hollow sound means the tile has debonded from the substrate. Re-grouting over a hollow tile is pointless, because the tile will move and crack the new grout.
- Check for movement at the floor-to-wall joint. That joint should be caulked, not grouted. Grout in a change-of-plane joint always cracks. If someone grouted it, that’s a sign they didn’t know the trade.
- Look at the shower pan corners. Grout there that cracks along the seam usually means the pan is moving, which points to a substrate problem underneath.
Cracked grout alone is a few-hundred-dollar fix. Cracked grout plus hollow tile plus a soft substrate is a shower rebuild. That’s the difference between a patch and a project, and it’s why diagnosing the cause before quoting the fix matters more than the fix itself. When we quote a bathroom remodel in Downey we open up the assembly and check what’s actually under the tile, because the finish layer tells you almost nothing about the wall behind it.
What Recourse You Have When a Remodel Fails Inside the Warranty
If your remodel was done by a licensed contractor with a written workmanship warranty, you have real leverage when it fails inside the warranty period, and the outcome usually depends on how well you documented the job. The most common mistake homeowners make is calling the contractor without documentation, which turns a clear warranty claim into a he-said-she-said conversation.
Here’s the documentation to have ready before you make the call:
- The signed contract and the scope of work. This is the single most important document, because it defines what was promised. A written line-item scope that names the backer board, membrane, and grout spec is the difference between a contractor fixing their mistake and a contractor saying they did what was quoted.
- The written workmanship warranty. Every legitimate contractor provides one in writing. If the warranty was verbal only, the claim is much harder to enforce. This is one reason we put the 730-Day Done Right Promise in writing on every project: if it’s not done right, we make it right, and the customer knows exactly what their coverage is.
- Photos of the failure with dates. A moisture meter reading, a video of the leak, a close-up of the cracked tile, all time-stamped, gives you proof that the failure is real and that it’s happening inside the warranty window.
- Any inspection reports or third-party assessments. If a home inspector or a moisture specialist documented the problem, that report carries weight.
- A written timeline of when you first noticed the problem and when you reported it. Most workmanship warranties have a notification requirement, and a clear timeline protects your claim.
If the original contractor won’t honor the warranty or has disappeared, the next step is a second contractor’s written assessment of what failed and why. That assessment is what you take to a licensing board complaint, a small claims action, or an insurance claim if the damage is large enough. In Downey, we’re regularly called in to do exactly this kind of failure assessment, and the paperwork is what determines whether the homeowner recovers the cost of the rebuild or eats it.
Repair vs. Replace: When a Fix Is Throwing Money Away
Not every bathroom problem is worth patching. The honest rule of thumb is this: if the failure is above the waterproofing layer (grout, caulk, fixtures), repair makes sense. If the failure is at or below the waterproofing layer (membrane, backer board, pan liner, framing), repair is usually a temporary fix that costs more over five years than a rebuild would have cost upfront.
The math looks like this. Regrouting a shower that’s actually leaking behind the wall runs $400 to $900 in Downey, buys you maybe 18 months, and the water damage keeps spreading behind the tile the whole time. A shower rebuild that fixes the waterproofing properly runs several thousand dollars and lasts 20 years or more. Patching a subfloor around a broken flange without replacing the flange buys a year before the new subfloor rots too. In almost every case, fixing the cause costs less over time than fixing the symptom twice.
There are exceptions. A toilet rocking because the bolts were loose is a genuine DIY fix. A single cracked floor tile over a solid substrate is a tile swap. A fan that’s under-sized is a fan swap. Those are worth doing. What’s not worth doing is patching a finish layer over a failed waterproofing system and hoping. The underlying problem doesn’t go away because the surface looks better.
Common Mistakes to Avoid
- Accepting a bid that just says “tile shower” without a material spec. If the quote doesn’t name the backer board, membrane, and grout type, you have no way to know what’s going in the wall. Get it in writing before you sign.
- Skipping the flood test on a new shower pan. A 24-hour water test on the pan before tile goes down is standard practice, and any contractor who wants to skip it is telling you something. Insist on it.
- Keeping the original exhaust fan when you upgrade the shower. A bigger shower needs a bigger fan. In Downey’s humidity and warm summers, an undersized fan is the leading cause of post-remodel mold.
- Grouting change-of-plane joints instead of caulking them. The floor-to-wall joint and the shower corners must be caulked with a flexible sealant. Grout there is guaranteed to crack.
- Choosing a contractor on price alone. A bid that’s $2,000 lower than the others is usually $2,000 lower for a reason, and the shortcuts are exactly the ones that fail in 18 to 36 months. Ask what’s different about the cheaper bid, and get a straight answer.
- Not documenting the job during construction. Photos of the open walls with the waterproofing visible are gold if there’s ever a dispute. Take them yourself before the tile goes up.
- Cleaning mold without finding the water source. If the mold keeps coming back, the moisture is still there. Cleaning the surface is not the fix.
If you’re planning a remodel and want to avoid inheriting these problems in the first place, the same care applies to the rest of the house. We see the same shortcut patterns on driveway and paver installs in Downey, on fence installation in Downey, and on home additions and ADUs in Downey that we see in bathrooms: a missing base layer, an undersized fastener, a shortcut nobody sees until it fails. The trade changes, the pattern doesn’t.
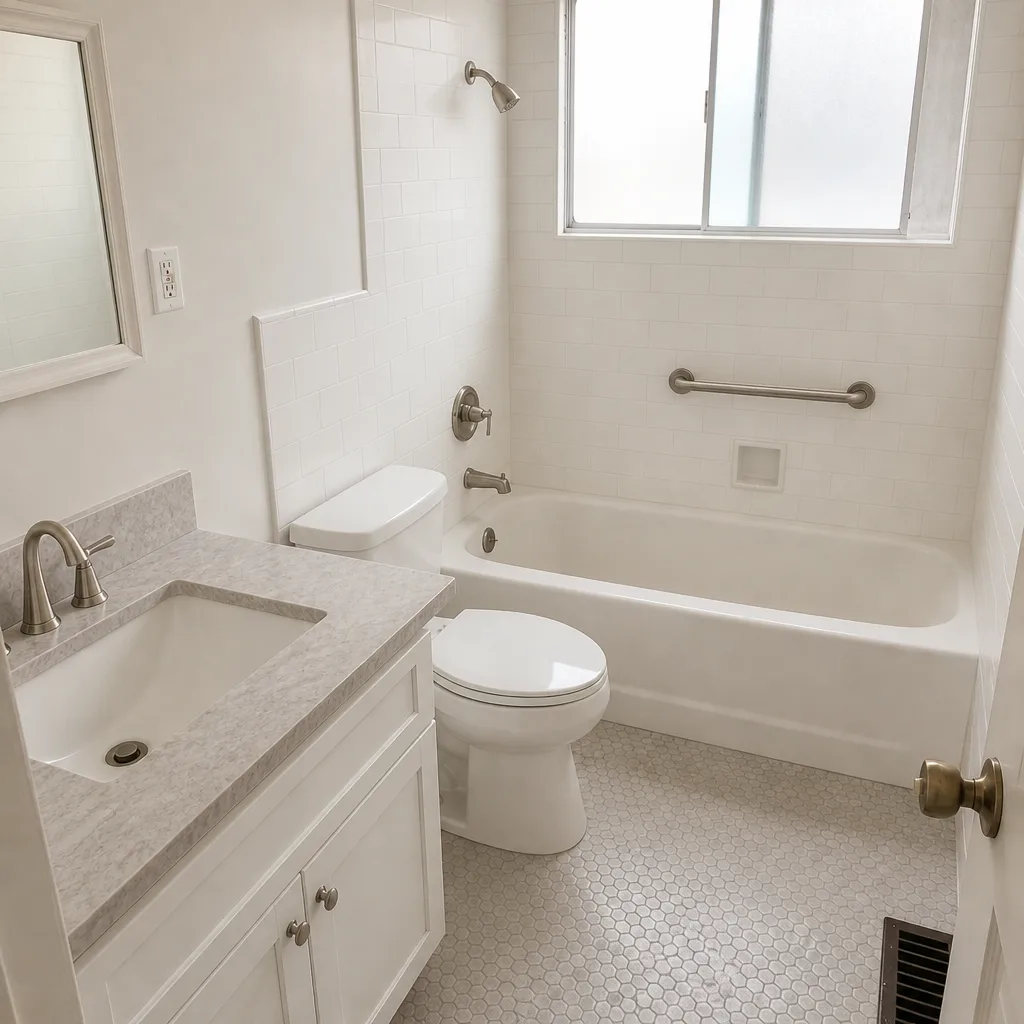
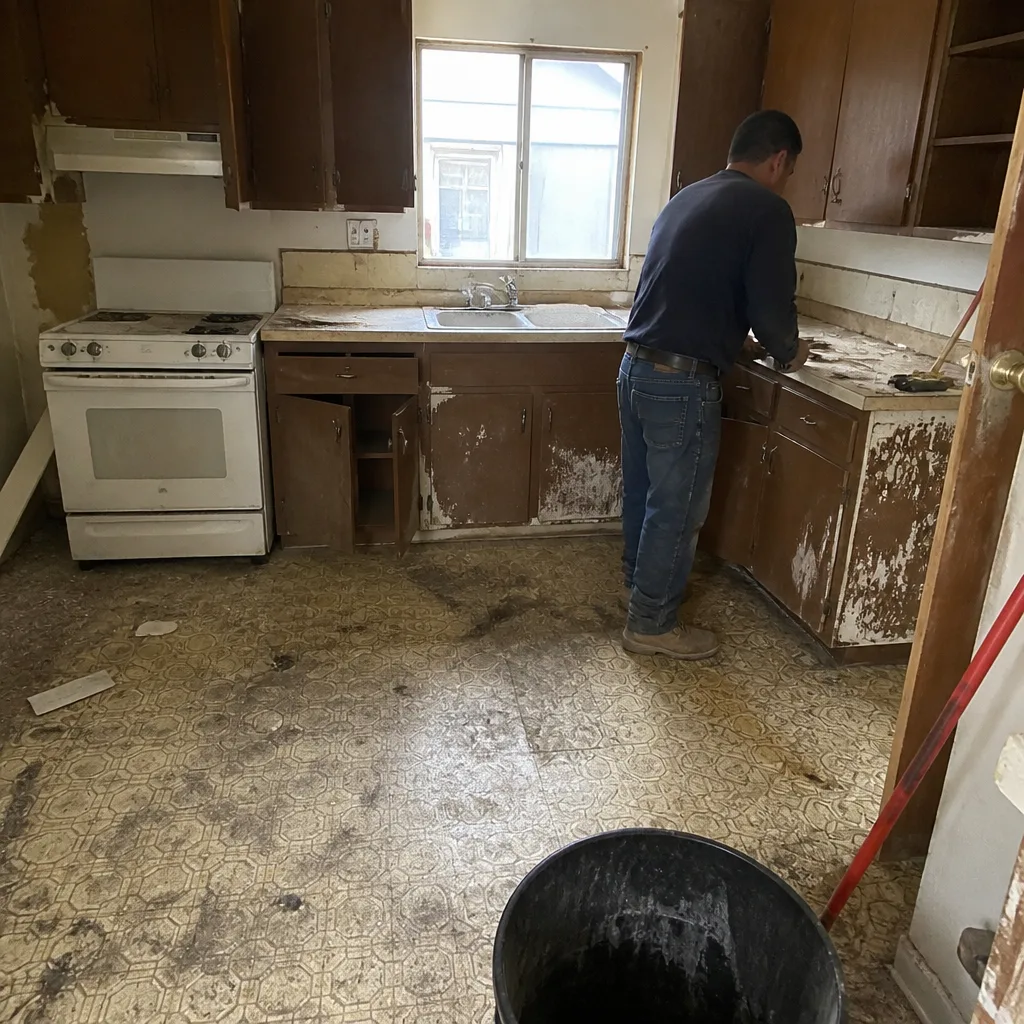
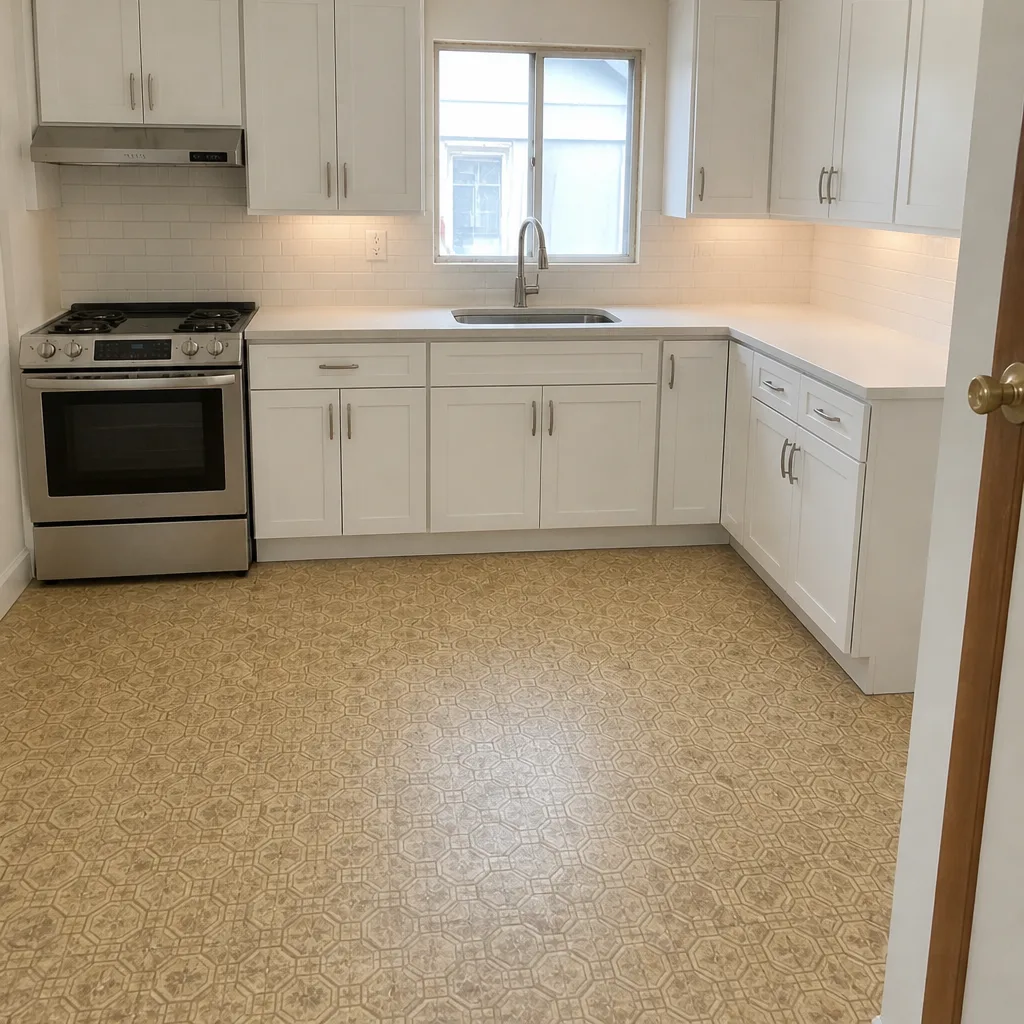
See the difference
 Before
 After
 Before
 After
 Before
 After
When to Call a Professional
Some bathroom problems are worth handling yourself: a loose toilet bolt, a cracked tile over a solid floor, a fan swap, a re-caulk at the shower base. But certain failures need a trained eye before you spend money, because the wrong first move makes the damage worse. Call a professional if water is showing up on a ceiling or exterior wall, if the shower pan holds water or drains slowly, if the toilet rocks and the floor feels soft, if mold returns within weeks of cleaning, if tile feels hollow or moves under your hand, or if a remodel is under two years old and the finish is already failing. Those are all cases where the real problem is behind the surface, and diagnosing them with a moisture meter and a partial demo is the only honest way to price the fix.
Groundwork Construction Co. of Downey offers free estimates in Downey, with written line-item quotes that name what’s actually behind the tile and what we’ll do about it. If the failure is the last contractor’s shortcut, we’ll tell you that too. Call (888) 255-8179 to schedule your free assessment.
Frequently Asked Questions
Repair costs in Downey run from about $200 to $450 for a wax ring and flange fix, $400 to $900 for regrouting a shower, $1,200 to $2,500 for a drain connection repair, and $4,000 to $9,000 or more for a full shower rebuild when the waterproofing failed. The cost depends on how long the water has been running and how much framing is damaged. Call (888) 255-8179 for an exact quote, which we provide free after a moisture assessment.
Plug the drain, fill the shower pan with an inch of water, and watch the ceiling below and the base perimeter for 24 hours. If water seeps out, it’s a pan liner or drain problem. If it doesn’t but the grout stays dark and wet, it’s grout. A drain failure specifically leaks only while the shower is running and stops within an hour. A moisture meter confirms which one in minutes.
Mold returns because the moisture source is still active, almost always an under-sized or attic-venting exhaust fan, or failed waterproofing behind the tile. Cleaning the visible mold doesn’t remove the water feeding it. The fix is to correct the ventilation or the waterproofing first, then remediate. Call us at (888) 255-8179 if you want a moisture inspection before you clean again.
It’s a DIY fix if the flange is intact and the floor is solid. It’s a subfloor repair if the flange is cracked, rusted, or sitting below the finished floor, or if the floor around the toilet feels soft. A rocking toilet that’s been moving for months has usually already damaged the subfloor, so pull the toilet and check before you assume it’s a $20 wax ring.
Yes, most bathroom remodels in Downey require a permit, including anything that moves plumbing, electrical, or structural framing, and any shower pan replacement. Finish-only work like paint and tile over an existing sound substrate may not require one, but it’s worth confirming with the city before work starts. A contractor who tells you a permit isn’t needed for a plumbing relocation is telling you something about how they work.
A workmanship warranty covers the labor and installation, which is what fails when the backer board or waterproofing is wrong. A manufacturer warranty covers the product itself, which rarely fails on its own. Most bathroom failures are workmanship failures, which is why the written labor warranty matters more. Our 730-Day Done Right Promise covers workmanship for 730 days: if it’s not done right, we make it right.
The Bottom Line
Most bathroom remodeling problems that bring homeowners to the phone weren’t caused by time or water chemistry. They were caused by the last contractor’s shortcuts, and the five that fail most often are wrong backer board, missing waterproofing, wrong grout for the wet zone, tile over a wood subfloor, and a reused pan liner without a flood test. Diagnosing which one you have before you spend money is the whole game, because a grout failure and a pan liner failure look similar on the surface but cost thousands apart to fix. If the problem is behind the tile, fix the cause, not the finish, and document everything if the original contractor’s warranty is still active. A well-built bathroom in Downey should last 20 years. A shortcut one fails in two.
If you’re staring at a bathroom that’s already failing, or planning a remodel and want it done right the first time, call Groundwork Construction Co. of Downey at (888) 255-8179 for a free estimate. We answer the phone with a live person 24/7, we quote upfront pricing with no surprises, and every project comes backed by our 730-Day Done Right Promise. From foundation to finish line, we build it to last and back it in writing.
Written by the team at Groundwork Construction Co. of Downey.