Last updated November 17, 2026



Free written scope consultation - allowances, timeline, and change-order rules on paper before a single trade is scheduled
Fence Installation Troubleshooting: Common Problems and How to Fix Them
Straightening a leaning fence post without understanding why it leaned is a temporary fix that makes the eventual failure worse and more expensive. We’ve seen it dozens of times in Downey: a homeowner props a post back up, pours a bag of concrete around it, and six months later the whole run is leaning harder than before because the water that rotted the first footing is still sitting there. Here’s the counterintuitive part. A leaning post, a sagging gate, a warped panel, and a gap at the bottom look like four unrelated problems. Roughly 80% of fence failures trace back to two root causes that were set the day the concrete was poured. This guide shows you how to diagnose what actually failed, which repairs you can handle, which ones need a permit or a professional, and why fixing the wrong layer just delays the bill.
Quick Answer
Most fence problems in Downey come from two installation-time failures: a footing that’s too shallow or poorly drained, and fastening that’s spaced too far apart for the material. A leaning post needs footing or base diagnosis first, a sagging gate needs the hinge-and-post chain corrected in the right order, and a gap at the bottom is usually settling or erosion rather than something a board can fix. Match the repair to the actual cause and the fix lasts. Treat the symptom and it doesn’t.
Styles & brands we work with
- Kitchen remodeling
- Bathroom remodeling
- Home additions & ADU
- Roofing
- Windows & doors
- Driveway & pavers
- Fence
Table of Contents
- The Leaning Post: Footing Failure, Rotted Base, or Soil Movement?
- Why Gates Sag: Hinge Placement, Post Size, and Span Width
- Warped and Bowing Panels in Downey’s Summer Heat
- Gaps at the Base: Settling, Erosion, or Installation Error
- Which Fence Repairs Need a Permit Pull in Downey
- Replacing Panels Without Repeating the Old Failure
- Wind and Heat Damage: What Downey Fences Actually Face
- Common Mistakes to Avoid
The Leaning Post: Footing Failure, Rotted Base, or Soil Movement?
A leaning fence post is not one problem. It’s three possible problems wearing the same costume, and the repair is completely different for each. Diagnosing which one you’re dealing with takes about ten minutes with a screwdriver and a hose, and it saves you from repouring a footing that will fail again.
Footing failure. Push the post at the top. If the whole post moves and you can feel loose soil or a hollow gap around the base, the footing has given up. In Downey, this is common on older wood fences where a 12-inch footing was poured in clay-heavy soil that swells when it gets wet. The concrete tilts, the post follows, and the wood above the concrete stays intact. The giveaway: the post is firm where it meets the ground but tilted everywhere above it.
Rotted base. If the wood is soft for the first 12 to 18 inches above grade, the post itself has failed, not the footing. Probe it with a screwdriver. A rotten base means water has been pooling at the soil line, which is nearly universal in parts of Downey where sprinklers run against a fence line. The fix is a new post, not straightening the old one.
Soil movement. If several posts in a row lean in the same direction, the soil under the whole run has shifted. This shows up on slopes and next to driveways where runoff concentrates. No amount of straightening will hold a fence that’s sitting on moving ground. That run needs deeper footings and, in some cases, drainage correction before new posts go in.
Here’s the order we work through it:
- Check for rot first. Soft wood means the post is done and no footing repair will help.
- If the wood is sound, wiggle the post at the top. Movement with firm ground contact at the base means footing failure.
- Look at neighboring posts. Multiple posts leaning the same way means the soil has shifted, not the footings.
- If it’s footing failure, dig out and repour the footing with a proper depth, not just a concrete collar around the old post.
We’ve seen more wasted weekends from skipping step three than any other mistake. A single leaning post gets fixed, the run keeps moving, and the homeowner ends up doing the job twice. Our Fence Installation in Downey team starts every repair estimate with this same diagnosis because it decides whether you’re looking at one post or an entire run.
Why Gates Sag: Hinge Placement, Post Size, and Span Width
Gate sag is the most mis-diagnosed problem we see. Homeowners tighten the hinges. The gate keeps sagging. They add a diagonal brace. It sags more. The reason is that sag almost always comes from a chain of three factors, and fixing the wrong link makes it worse. The chain runs in this order: post size, span width, hinge placement. Fix them in that order or you’re chasing your tail.
Post size. A gate post carries the entire weight of the gate plus anything that leans or hangs against it. A 4×4 post on a gate wider than about 4 feet is undersized in Downey’s dry-season soil, and it will lean within a year or two. Most gate failures we see start here. If the gate post is a 4×4 on a 5-foot gate, the post is the problem, not the hinges.
Span width. Gates wider than 6 feet put enormous leverage on the hinges and the latch post. The frame needs a diagonal brace running from the bottom hinge corner up toward the top latch corner to resist racking. When the brace runs the wrong direction, the gate racks and drops every time. On spans over 8 feet, a sag-resistant frame or a double gate is the right call. Single-leaf 10-foot gates are a recipe for a sag you’ll be fixing every season.
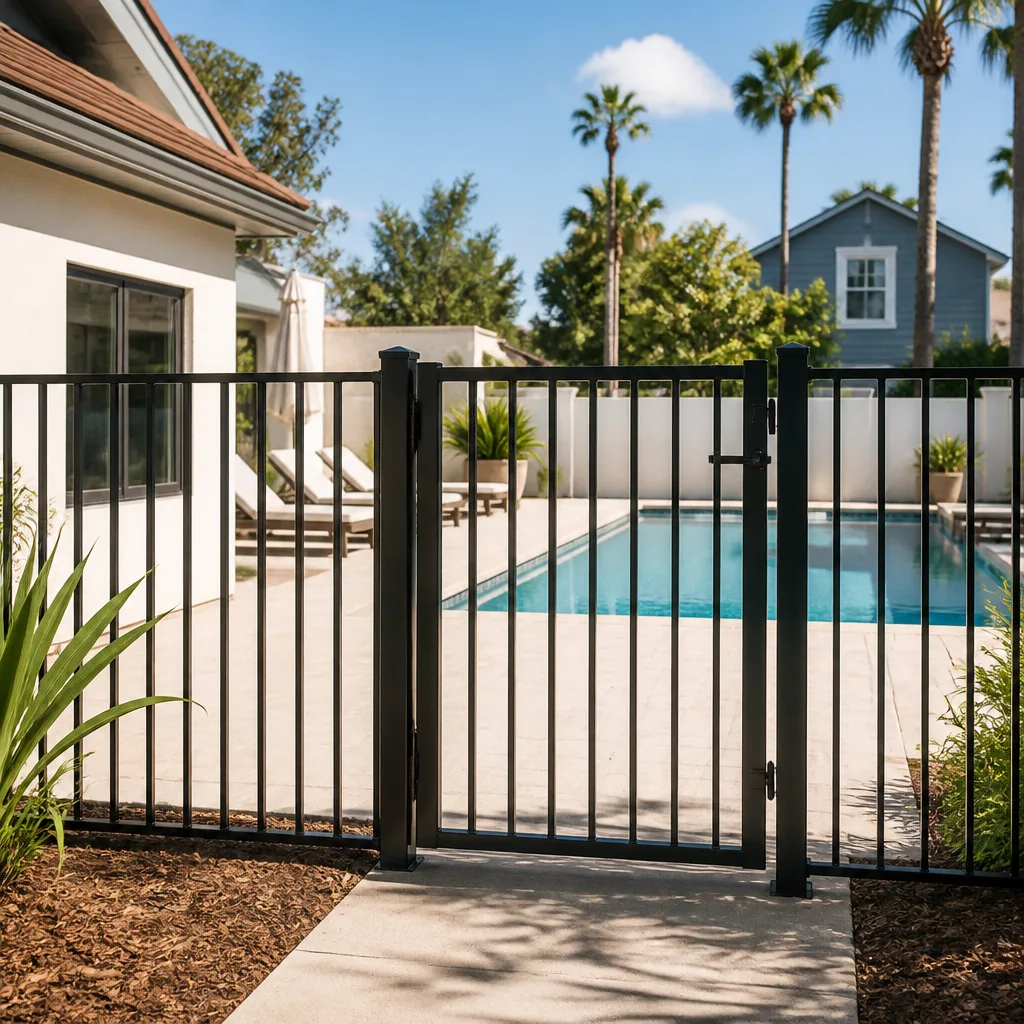
Hinge placement. This is the last link in the chain, but it’s the one homeowners adjust first. The top hinge should sit 6 to 8 inches from the top of the gate, the bottom hinge 6 to 8 inches from the bottom, and both should sit on the frame, not the paneling. Hinges placed too close together, or mounted into a thin picket, will tear out. Bolted through the whole frame with carriage bolts is the standard. Screws alone won’t hold a gate in Downey’s heat cycles.
A quick test: open the gate halfway. If it stays, the hinges are holding. If it swings shut on its own, the frame is racking and the post is likely moving. If it swings open, the latch post is leaning. Each of those points to a different fix. Repairs on gates that need new posts or frame rebuilds usually fall under fence installation work, not a maintenance fix – our team can tell you which before any work starts.
Warped and Bowing Panels in Downey’s Summer Heat
A bowing panel is not a material defect nearly as often as it is a spacing problem. When a picket fastens to two rails, the pickets between those rails are free to move as the wood expands and contracts. Every day, in Downey, the wood moves. Summer afternoons push 95 to 105 degrees, mornings can drop 30 degrees, and the wood cycles through expansion and contraction all season. Where fasteners are spaced too far apart – say, one screw per rail instead of two – the picket has nothing holding it flat and it bows outward.
What to look for:
- Bowing in a repeating pattern down the run means fastener spacing is too wide. Two fasteners per rail connection is the minimum, and three for wider pickets.
- Bowing at the rails only, with flat pickets usually means the rails are drying at a different rate, which points to a mixed-material installation.
- Pickets bowing toward the sun suggests the wood dried unevenly after installation. Vinyl and composite can also bow this way, but wood is the common one.
- Bow at the top only with a solid bottom points to the top rail moving. Check whether the top rail is securely fastened and whether the cap rail is installed.
The right fix is to add fasteners at the mid-point of any bowed picket and back out the ones at the ends of the panel to release the tension. Add a horizontal support if the panel is longer than 8 feet. A quick test: lay a 4-foot level along the top rail and along the bottom. If both are straight but the pickets between them bow, the panel is fine and the fastening is the problem. If the rails themselves bow, the run is failing more broadly. In that case it’s a repair estimate, not a quick fix.
Vinyl panels that bow in Downey heat are a separate case. Some vinyl products expand and contract more than wood, and a panel installed on a cold morning will bow when the afternoon sun hits it. That’s a material spacing issue, and it’s worth a call to whoever installed it. Our technicians have up to 12 years of experience reading exactly this kind of failure and can tell you in a five-minute look whether a bowed panel needs new fasteners or a new section.
Gaps at the Base: Settling, Erosion, or Installation Error
A gap at the bottom of a fence is easy to fill and hard to keep filled. The reason is that gaps form for three distinct reasons, and the one you’re looking at determines whether a board fixes it or just hides it. Diagnosis first, then the fix.
Settling
Freshly installed fences in Downey sometimes show a gap at the bottom of a panel within the first year because the soil under the posts settles. This shows up as a uniform gap across the panel and a post that’s slightly lower than its neighbor. The fix is to add a bottom rail or a skirt board, or to re-level the panel and reset the post. The gap doesn’t come back if it’s done right.
Erosion
Erosion is the more insidious cause, and it’s the one most homeowners fix incorrectly. Water that runs along the fence line, from downspouts, sprinklers, or the slope of the yard, washes soil out from under the panel. You get a gap where the ground drops away from the bottom rail. If you fill that gap with a board and don’t stop the water, the board rots and the gap returns. The original gap will come back within a season unless the water is redirected. Downspout extensions and yard grading fix it.
Installation error
The third cause is the original installation. If the panels were set with an even gap at the bottom that’s too tall – usually 2 inches or more – it wasn’t erosion or settling. It was the design. Some fence styles call for a ground gap. But if the gap was accidental, the fix is to lower the panel or add a skirt. The critical distinction: an original installation gap appears from day one. A settling gap appears in the first year. An erosion gap appears after the first heavy rainy season and keeps getting bigger.
What actually keeps a gap from coming back:
- Redirect water away from the fence line. Downspouts should discharge at least 4 feet from the fence.
- Set panels with the recommended gap for the material and local climate – usually under an inch for wood, often 2 inches or more for vinyl products designed to flex.
- Add a gravel or drainage strip along the base where soil holds water.
- Don’t fill the gap with concrete or a board unless you’ve addressed the water first.
The Groundwork Construction Co. of Downey home team handles gap repairs alongside Driveway & Pavers in Downey work when the water is coming from hardscaping. That’s often where the problem starts, and homeowners don’t see the connection until someone points it out.
Which Fence Repairs Need a Permit Pull in Downey
This distinction trips up more Downey homeowners than any other fence question. A permit is required for certain kinds of fence work, and the line between “new fence” and “maintenance” is not always obvious. Get it wrong in either direction and you’re either paying for a permit you didn’t need or facing a compliance problem when you sell.
Repairs that are classified as maintenance – no permit required in most cases:
- Repairing or replacing pickets on an existing, permitted fence.
- Replacing a board, panel, or rail with the same material at the same location.
- Tightening, replacing, or repositioning hinges on a gate.
- Repainting or re-staining an existing fence.
- Straightening a single post without changing the fence’s height or location.
Repairs that typically require a permit:
- Replacing an entire fence run where the fence is a new structure, not a repair of the existing one.
- Changing the fence height – taller or shorter than what was permitted.
- Moving the fence line, even a few inches, especially near a property line.
- Changing the fence material from what was originally permitted.
- Replacing more than a certain percentage of the fence in a single project – often treated as a new installation.
Downey also has rules about fence height, setbacks, and the front-yard visibility triangle, and those rules interact with any repair that changes location or height. Before any repair that touches a fence line, the height, or the material, call the city and confirm. Our permit experience in Downey is direct: any work that changes the structure gets a permit pull, and our team walks the inspection through with you. That’s not a sales point, it’s how a fence repair stays repaired on paper as well as on the ground. Homeowners who’ve had a fence removed for a new addition (see Home Additions & ADU in Downey) know how fast fence permits surface during a project inspection.
Replacing Panels Without Repeating the Old Failure
Replacing a panel looks easier than it is. The mistake we see most is replacing the visible failure – the bowing panel, the rotten picket, the leaning section – without addressing what caused it. Three months later the new panel fails the same way. Done correctly, a panel replacement carries the error forward only if you let it. Here’s the sequence that avoids that:
- Diagnose the failure mode. Footing, rot, soil, fastening spacing, or water. Identify it before any material comes off.
- Match the new panel to the existing run. Material, thickness, dimension, and rail spacing. A panel that’s a quarter-inch different from its neighbors creates a movement mismatch that will show up within a season.
- Correct the footings if the posts are involved. If the panel failed because the post was loose, replacing the panel alone is a temporary patch. Repour the footing to the right depth for Downey soil, or replace the post.
- Use the correct fastener spacing. Two fasteners per rail minimum, aligned to the installation spec. This is the fix for the bowed-panel problem, and skipping it is why some panel replacements fail.
- Sight down the run before you tighten. The panel should line up with its neighbors, not just look straight on its own.
- Match the stain or finish. A new panel that doesn’t match is a visual reminder every time you walk past. New materials from our brand partners – Fence Installation in Downey uses a curated list of trusted brands for exactly this reason – arrive checked and ready to match.
Most panel replacements we see in Downey take a single visit when the underlying failure is corrected first. The ones that drag out for weeks are almost always the ones where the water or footing problem was left in place. Built to last, backed in writing, is true only when the repair is. Our 730-Day Done Right Promise covers the workmanship – if it’s not done right, we make it right.
Wind and Heat Damage: What Downey Fences Actually Face
Downey sits in a climate that puts a specific set of stresses on a fence. Summer highs regularly run 95 to 105 degrees. The dry Santa Ana wind events push through from fall into winter. The soil swings between hard and dry in summer and softer after winter rain. Fences here fail differently than they do in cooler or wetter parts of the country, and understanding that helps you spot a real problem before it becomes a bigger one.
What the local climate does to a fence:
- Heat cycles expand and contract wood and vinyl, which is why fastener spacing matters here more than in milder climates. A panel that’s tight in a cold morning will bow by 3 p.m.
- Dry soil pulls away from footings in summer, which is why a post can be firm in spring and leaning by August. The footing has to sit deep enough to stay in contact with moisture.
- Santa Ana wind events stress the run, especially where a fence catches wind along open slopes or backs onto a wash. Wind damage shows up first at post-to-panel connections, then at the footings.
- Winter rain in concentrated doses can erode soil along the base, which is the cause of most base gaps we see after a wet season.
The right response is different for wind damage versus heat damage. Wind damage usually needs bracing, deeper footings, or a post replacement. Heat damage usually needs fastener correction and a check on the material’s expansion allowance. If the fence shows signs of several problems at once – sagging gate, bowed panel, gap at the base – it’s worth an inspection rather than a piecemeal fix. Our team offers a free project estimate and design consult for exactly this scenario: you get a straight diagnosis and a written line-item quote, not a single number that hides the scope. That free estimate is one of our standing offers.
Common Mistakes to Avoid
- Straightening a post without diagnosing the cause. Repouring a footing around a rotten post or a shifting soil line is a fix that lasts a season at most. The failure mode has to be identified first.
- Replacing a bowing panel without correcting fastener spacing. The new panel bows in the same spot because the movement that caused the first one is still there. Two fasteners per rail connection is the minimum.
- Filling a base gap without stopping the water. A board or gravel fill over an erosion gap hides the problem. Downspouts, grading, or drainage correction prevents it from coming back.
- Adjusting hinges on a gate with an undersized post. The post is the root cause in most sagging gates in Downey. New hinges on a 4×4 post with a wide span just move the failure to the post.
- Skipping the permit on a repair that changes height, location, or material. Downey’s code treats those as structural changes, not maintenance, and the permit surfaces when the fence comes up during a home sale or a future inspection.
- Mixing materials without matching expansion rates. A wood panel against a composite panel, or a different thickness, creates movement mismatch that fails at the joints.
- Ignoring a wet-season gap as “just settling”. A gap that appears after winter rain and grows is not a settling problem – it’s erosion, and it needs water correction, not filler.
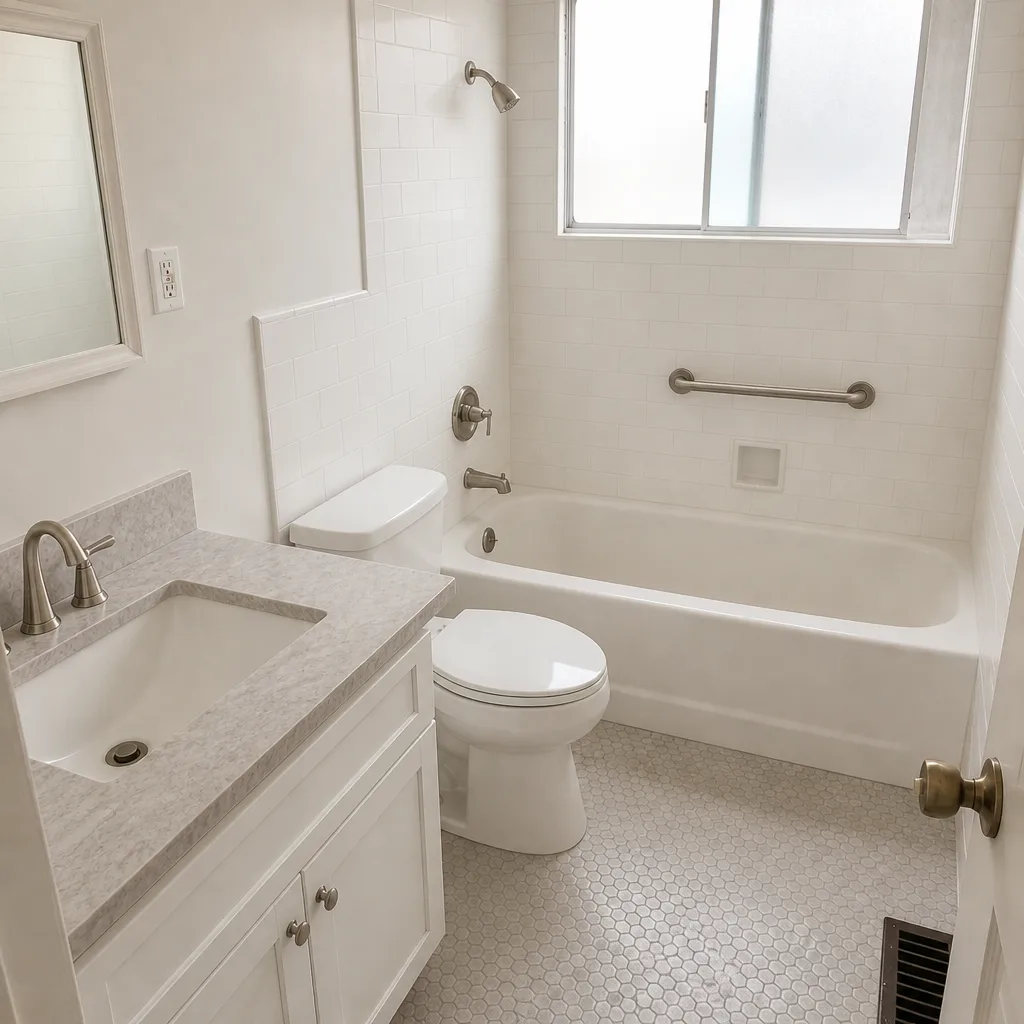
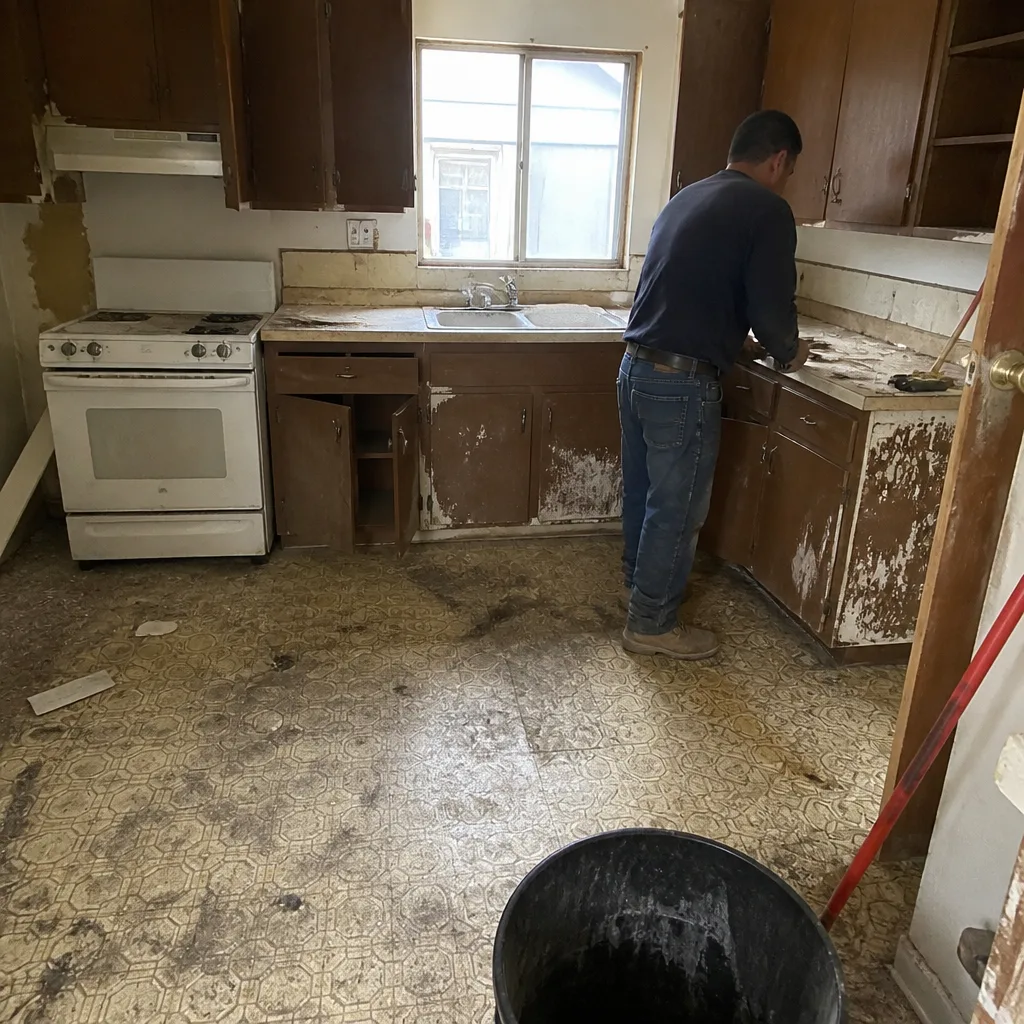
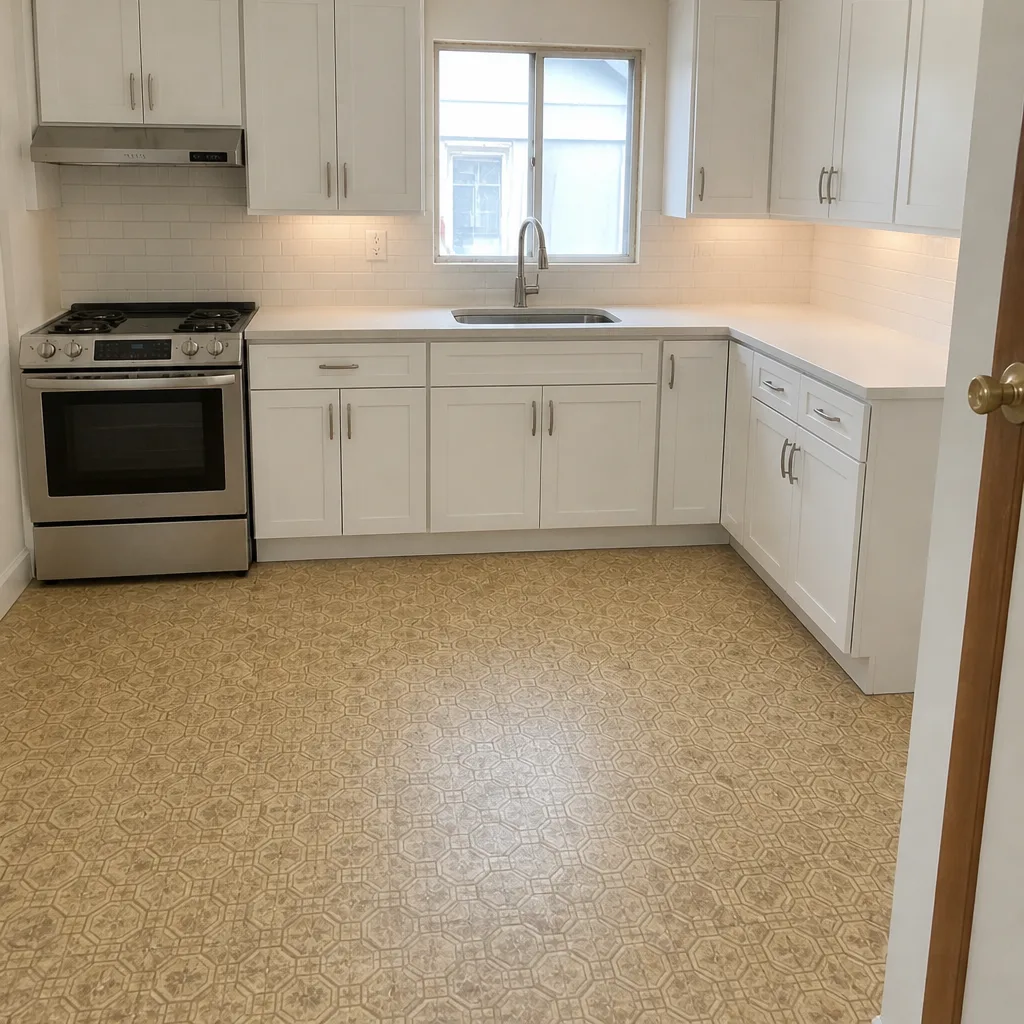
See the difference
 Before
 After
 Before
 After
 Before
 After
When to Call a Professional
Call a professional when the repair involves new footings, post replacement, structural gate correction, work near a property line, or anything that changes the fence’s height, location, or material. Those are the jobs where a wrong repair isn’t just money wasted, it’s a code issue and a future failure. Call us sooner if the fence is older, the soil is already moving, or you’ve already tried one fix and the problem came back. That pattern almost always means the wrong layer was repaired. Our technicians have up to 12 years of experience diagnosing these before any work starts, and every job is covered by the 730-Day Done Right Promise. Groundwork Construction Co. of Downey offers free estimates in Downey – call (888) 255-8179.
Frequently Asked Questions
Most fence repairs in Downey fall in the $150 to $600 range for a single issue – a post, a panel, a gate adjustment, or a base gap fix – while full footings, post replacements, or structural gate work can run higher. The number depends entirely on the diagnosis: a leaning post that’s a footing failure costs more to fix than a leaning post that’s a hinge adjustment. Call (888) 255-8179 for an exact quote – estimates are free, and unlike a phone estimate that guesses, our written line-item quote shows you the scope.
Because the footing is the cause and the fix was treating the symptom. A leaning post returns if the footing is too shallow for Downey’s soil, if the post base is rotting, or if the whole soil line has shifted. Any of those will re-lean a straightened post within a season. Diagnose footing, rot, or soil movement first, then repair the right layer – or it comes back.
Not for maintenance – picket replacement, panel repair, hinge work, or re-staining on an existing fence usually don’t need a permit. Repairs that change the fence’s height, location, or material are typically treated as new installations and do need a permit. Confirm with the city before work starts. Our team pulls permits on any job that touches those lines and walks the inspection through with you.
Gate sag almost always starts with an undersized post or a span that’s too wide, with hinge placement as the third factor. A 4×4 post on a gate wider than about 4 feet will lean, and the gate follows. Tightening hinges on a failing post just delays the next repair. Fix the post and span first, then the hinges.
Stop the water. A gap that keeps returning is almost always an erosion problem, not a settling problem, and filling it with a board doesn’t fix the cause. Redirect downspouts, grade the soil away from the fence line, and use a drainage strip where water collects. If the gap appeared from day one, it’s an installation error – lower the panel or add a skirt.
Usually yes, if the bow is a fastening issue rather than a material one. Two fasteners per rail connection at minimum, aligned to the panel manufacturer’s spec, corrects most bowing. If the rails themselves are warped, the panel needs replacing. Call (888) 255-8179 and we’ll tell you which it is when we look.
The Bottom Line
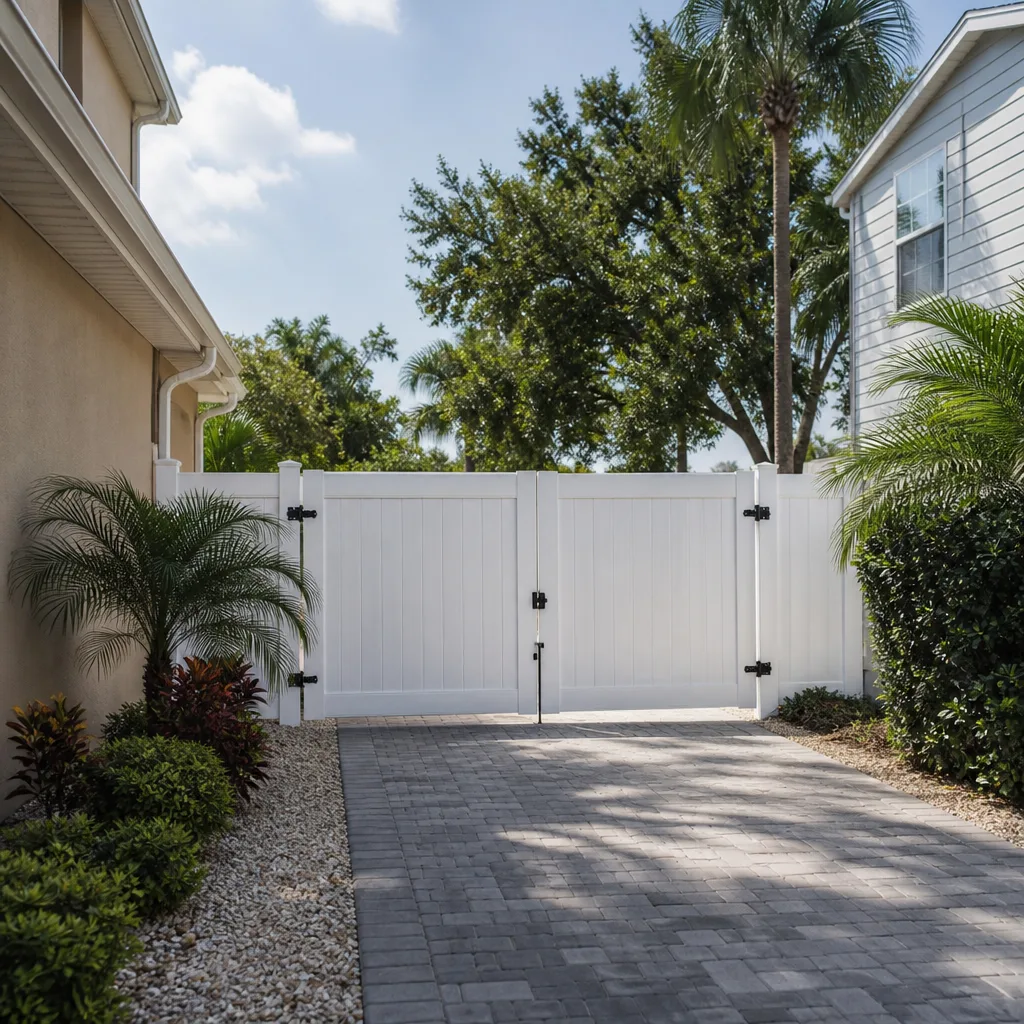
A fence problem is always two problems: the visible failure and the cause underneath it. A leaning post, a sagging gate, a bowing panel, and a base gap each look different but trace back to footing, fastening, water, or span – the two root causes set on day one. Diagnose the failure mode before you repair, fix the layer that actually failed, and handle permit questions early. Repair the symptom and the fence fails again, worse and more expensively. Repair the cause, and the fence lasts. For a free estimate on any fence repair, call Groundwork Construction Co. of Downey at (888) 255-8179.
Written by the team at Groundwork Construction Co. of Downey.